Below are the selected photographs that I have taken while traveling or close to home. Many of the flowers pictured here are growing in my garden. These photographs are the basis for the postcards I make – if you like them, check out the Fine Art Photo Postcards section of my Etsy store.
Category: Photography
How I make my photography greeting cards
What better way to get in touch with someone than by a handmade greeting card? Many a friend of mine has appreciated these cards with their vibrant colours and beautiful flowers or nature scenes. The bright white paper, the original photographs, the hand-drawn vignettes on the back in colours complementary to the photos, and the intricate border framing the picture – all make these cards a pleasure to receive. They are perfect for sending notes, invitations, get well wishes, congratulations, or just to brighten someone’s day. If you would like to make some on your own, read on.
You will need:
1. Printed 4 x 6 photographs (or pictures cut out of old calendars, magazines, posters).
2. White 8.5 x 11 (letter size) card stock (vignettes will be most vibrant on white).
3. Glue tape runner (plus some refills if you are making many cards).
4. Decorative border scissors.
5. Thin-tip multi-coloured markers (I have been using the same Staedtler triplus fineliner set for over 4 years now, and they still produce great colour).
6. Ruler (at least 6 inches (15 cm) long, or whatever the longer side of your card is).
You can make cards from photos of other sizes, but in this article I’ll stick to the process I use: I make two cards from a single card stock sheet.
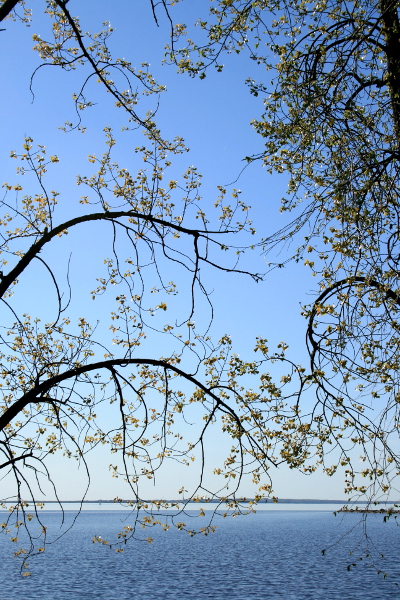
The photos can be whatever you like. I like taking pictures of the places I find beautiful when traveling or exploring the trails (a great way to make your walks with a baby more engaging). I also love growing my subjects myself, by planting flowers in my garden and photographing them in bloom. Arboretums, friends’ or community gardens, city parks, rivers and lakes, city architecture, – there are so many opportunities for postcard-style photos! Frame each photo well, make sure the lighting is good (afternoon is a great time to take photos outside), print them at any photo kiosk, and you are ready to make cards.
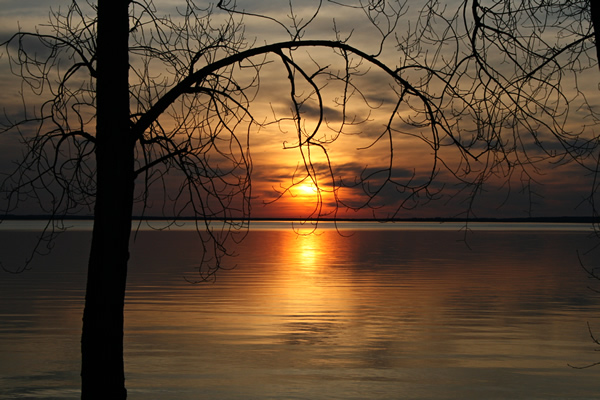
Sunset on the Ottawa River
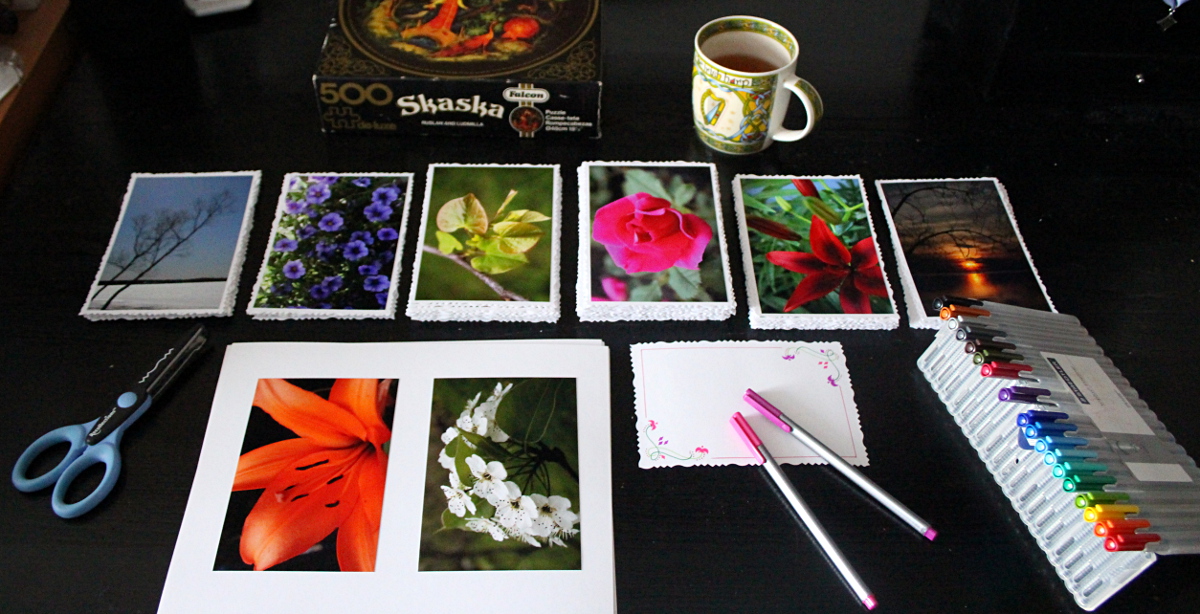
An efficiency tip: if you are making cards for a specific occasion or have a deadline, I suggest to apply the trip over your to-dos tip, and utilize the space you would really like to use for something else in a couple of days. In my case, I clear out my puzzle desk to set out all of the items I need to make postcards. This ensures that I will try my best to complete them in a timely manner, as I will be unable to use the desk for anything else (like a puzzle) while the cards are being made. I also usually batch the activities up: I glue all the photos, then cut the borders, then sort them, and then draw vignettes. This way I can focus on one type of activity and get better at it with each card, instead of constantly switching tools and creating more opportunity for mistakes. Specialization is the key for large batches of cards.
Glue the photos, two per sheet of card stock, using the glue tape runner. I find that it makes for a cleaner adhesive than a dripping glue, and the photos do not bulge up if you accidentally use a bit more than needed. It is also less messy. When gluing, do not worry too much about how straight the photos are on the sheet: as long as there is plenty of white space around each to cut out the border, it’s all good.
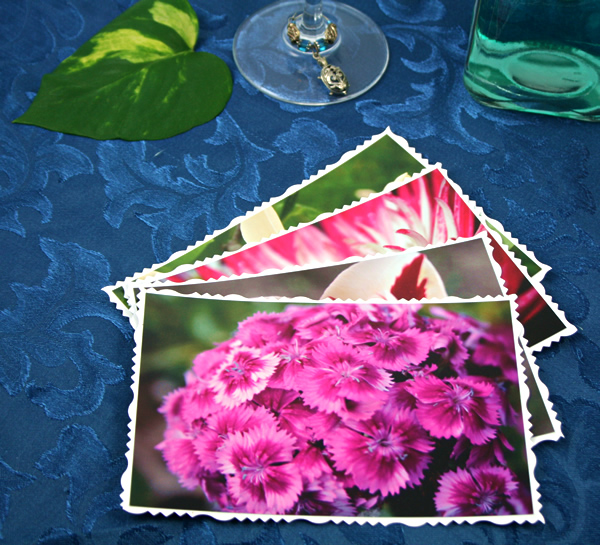
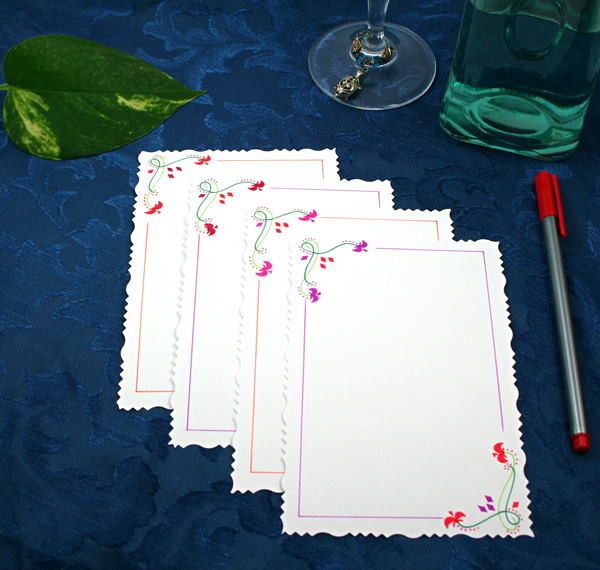
Take the scissors, and cut around each photo, leaving about half a centimetre or so of white curved border. Take a look at the illustration to see what I mean: it’s much easier to show than to describe in words. At the end of this step, you will have a stack of beautiful cards. You can stop here or proceed onto making the back of the cards framed and decorated, to accentuate the message.
I take a couple of minutes here to sort the cards. I usually match the vignette colours to the photo on the front of the card. This means that in order to minimize the need to constantly switch markers, it is easier to do all the cards with similarly-coloured vignettes first, and then move onto the next set of colours. So, first I sort the cards into broad colour categories: reds and oranges, pinks and purples, blues and greens (water landscapes often fall into this category), and so on. (Sometimes I do that as I cut the borders, by creating separate piles for different colours.) Then I sort each colour stack into horizontal and vertical cards based on the photo. I usually put a design in the left top and bottom right corner on the back of the card, so it is easier to sort the cards first, instead of checking whether each one is the right way up before drawing.
Decorate the back of the card. Here is the other part where your creativity can shine: you can make the vignettes as simple or as elaborate as you like. If you are unsure about drawing directly in marker, take a sheet of paper and practice your vignette first. Once you are satisfied with it, you can try it on the back of the card either in pencil first, or be bold and go for the marker.
Once the vignettes are done, I usually complete them with the frame of straight lines to outline the message, provide padding, and give the back of the card a finished look. This is where the ruler comes in handy.
I find making these cards relaxing. Once my kids are older, I’m sure it will make for an interesting craft idea for them as well. Finding the subjects to photograph makes for an engaging activity by itself. Drawing vignettes provides a creative outlet, and the entire process makes for a calming, centering hobby. Try making a card for a friend. We so rarely reach to each other in tangible physical ways in this digital world, that such a gesture can mean a lot. And don’t you love opening your mailbox to find a one-of-a-kind colourful greeting from a friend?
Photo: Tiny Pink Bloom Bouquet, May 17, 2013
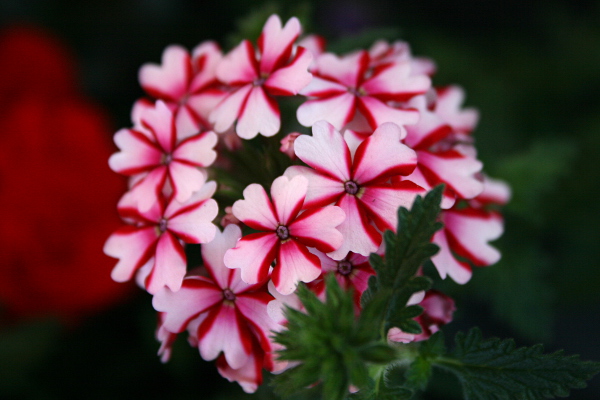
Photo: Tender hyacynth bloom, May 15, 2013
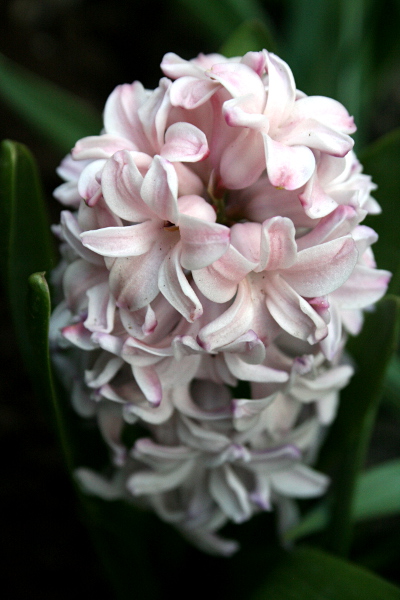
Photo: Tiny Blooms and Red Roses, May 17, 2013
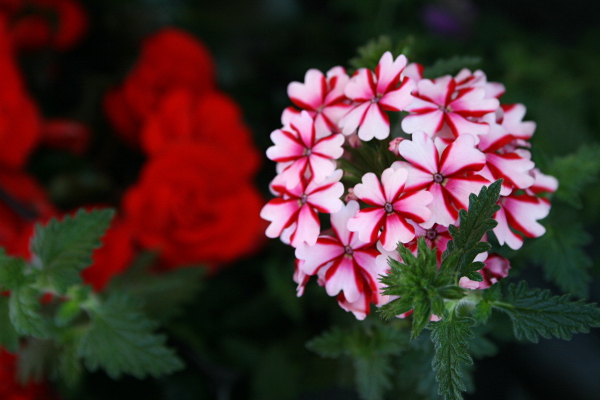
Photo: Carnation edges, March 15, 2013
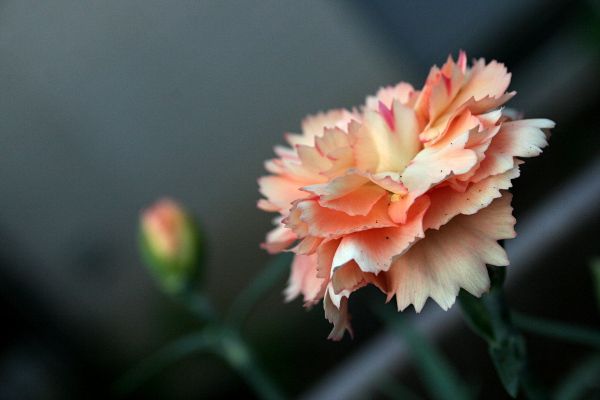
Photo: Little Orange Bouquet on Green, May 17, 2013
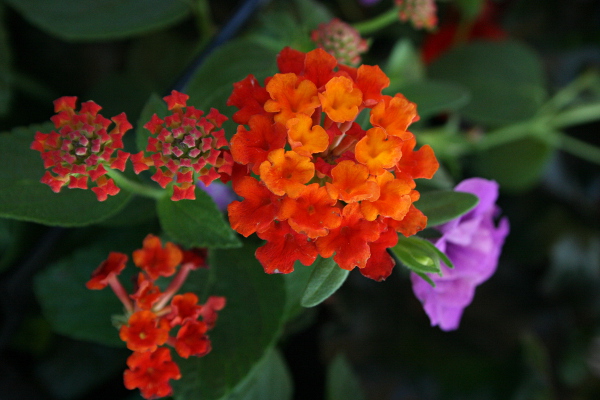
Photo: Tender tulip bloom, May 15, 2013
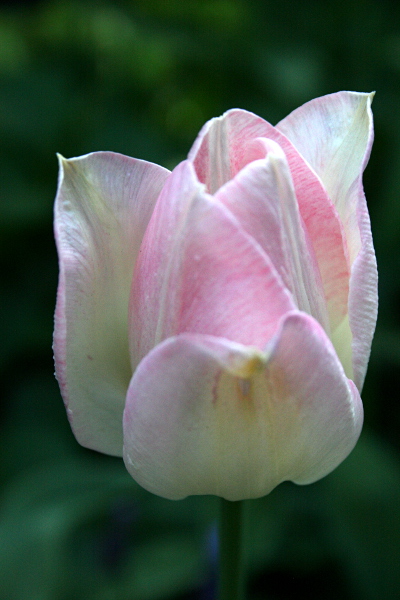
Photo: Tiny Pink Blooms, May 17, 2013

Photo: Orange and Purple Blooms, May 17, 2013
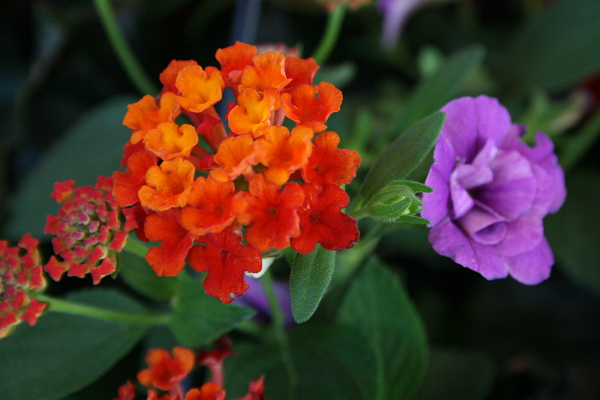
Photo: Garden purples, March 15, 2013
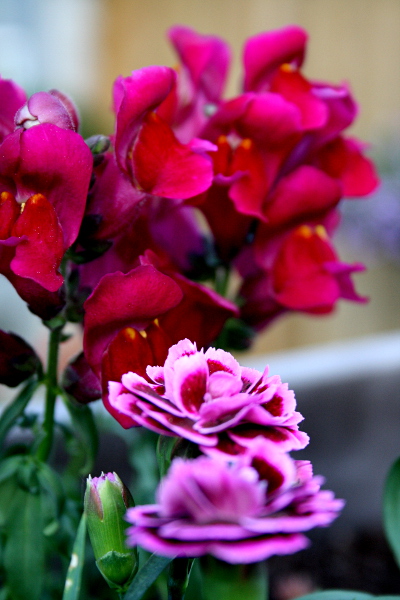
Photo: Carnation purple, May 15, 2013
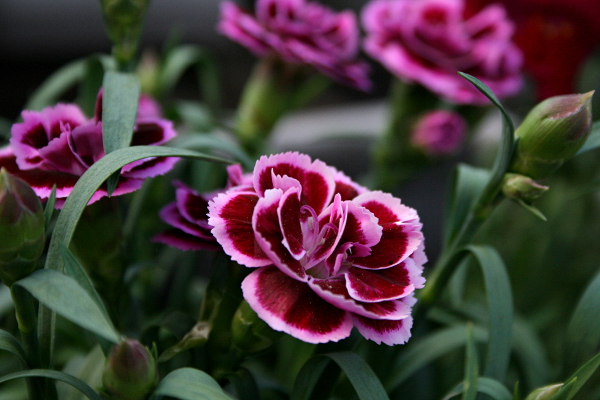
Photo: Hyacinth, May 17, 2013
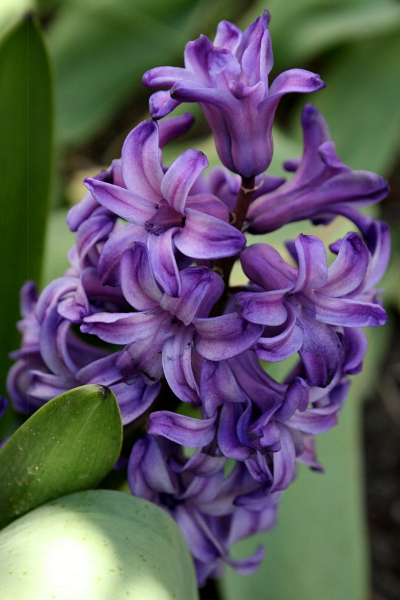
Photo: Blood Red Lily, May 17, 2013
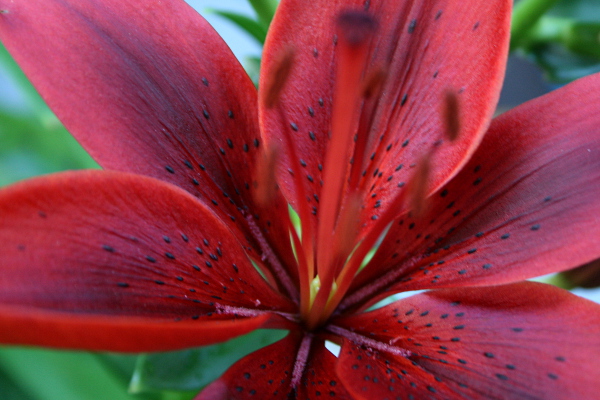
Photo: Snapdragons and carnations, May 15, 2013

Photo: Young tree over Ottawa river, March 30, 2013
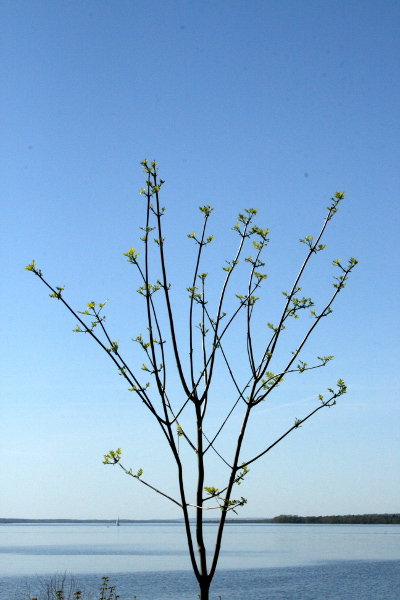
Photo: Lilac white constellations, March 15, 2013
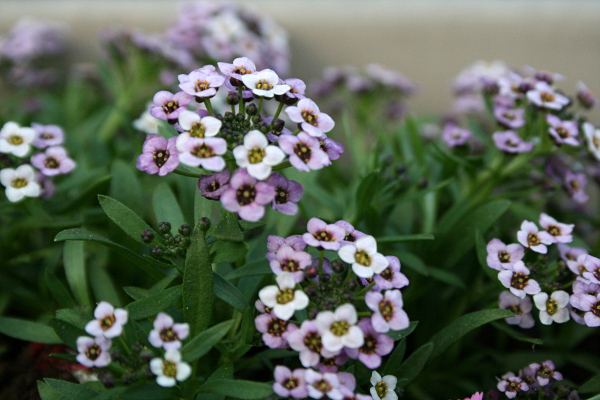
Photo: Blood Red Lily on Green, May 17, 2013
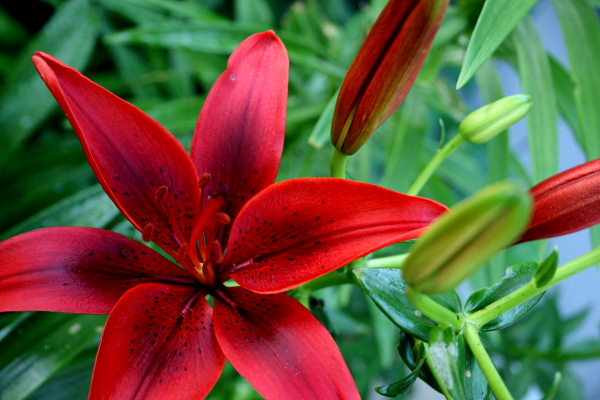
Photo: Purple Flowers on Green, May 17, 2013
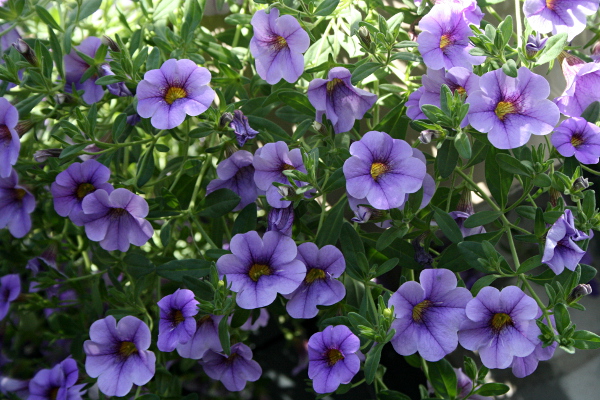
Photo: Young Branches on Ottawa River, May 17, 2013
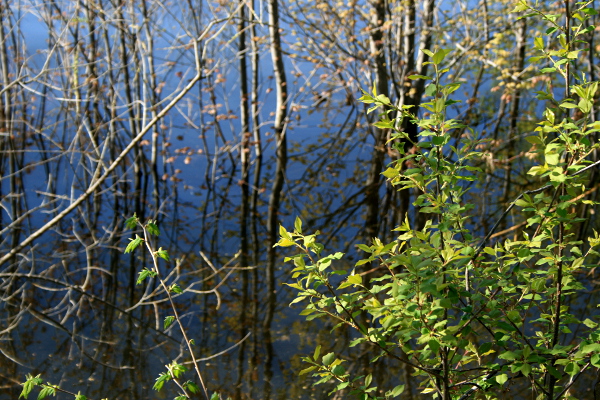
Photo: Trees over Ottawa river, March 30, 2013