From the first time I’ve considered my edible landscaping project, I’ve been set on using natural materials – rocks and wood – instead of plastics and rubber, to create an oasis that one might encounter in nature. One day, I was looking for instructions on building raised garden beds with river rock borders, when I stumbled upon the following image:

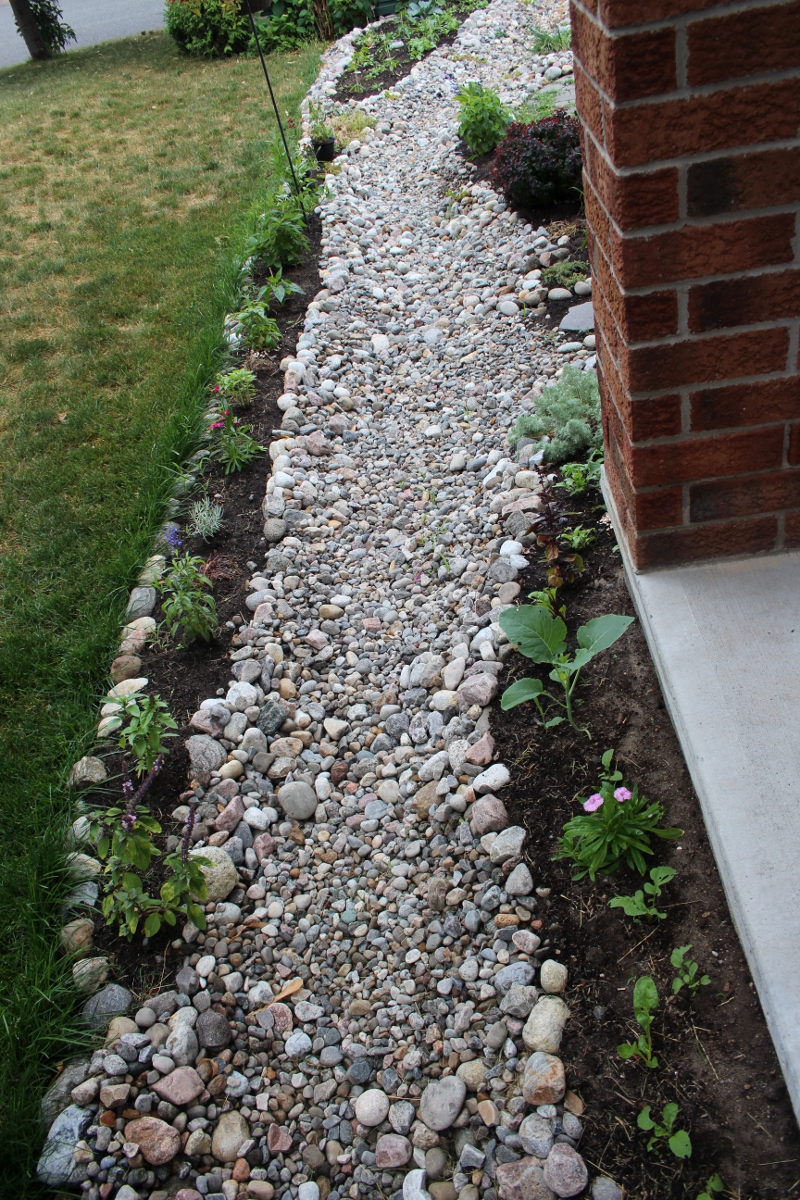
It caught my breath, so beautiful was seeing a flowing river in the middle of an ordinary city lawn, with plants growing among the rocks. It’s almost as if a rift opened in the lawn with a glimpse of a forest spring. I love combining aesthetics with functionality, and from that point on, I was inspired to implement this idea. It would work beautifully with a garden bed on each side. Thus my edible landscaping project has changed shape to incorporate a dry river bed as the central element.
For a timeline view of the project, you can read about my edible landscaping journey and specifically the front yard. This post will focus on the front yard design with a dry river bed and highlight the steps and tips to create a dry river bed. You’ll notice that some of the photos are out of order, as I try to illustrate each feature of the river bed, and the photos were taken at different times in the span of the first month during and after the construction.
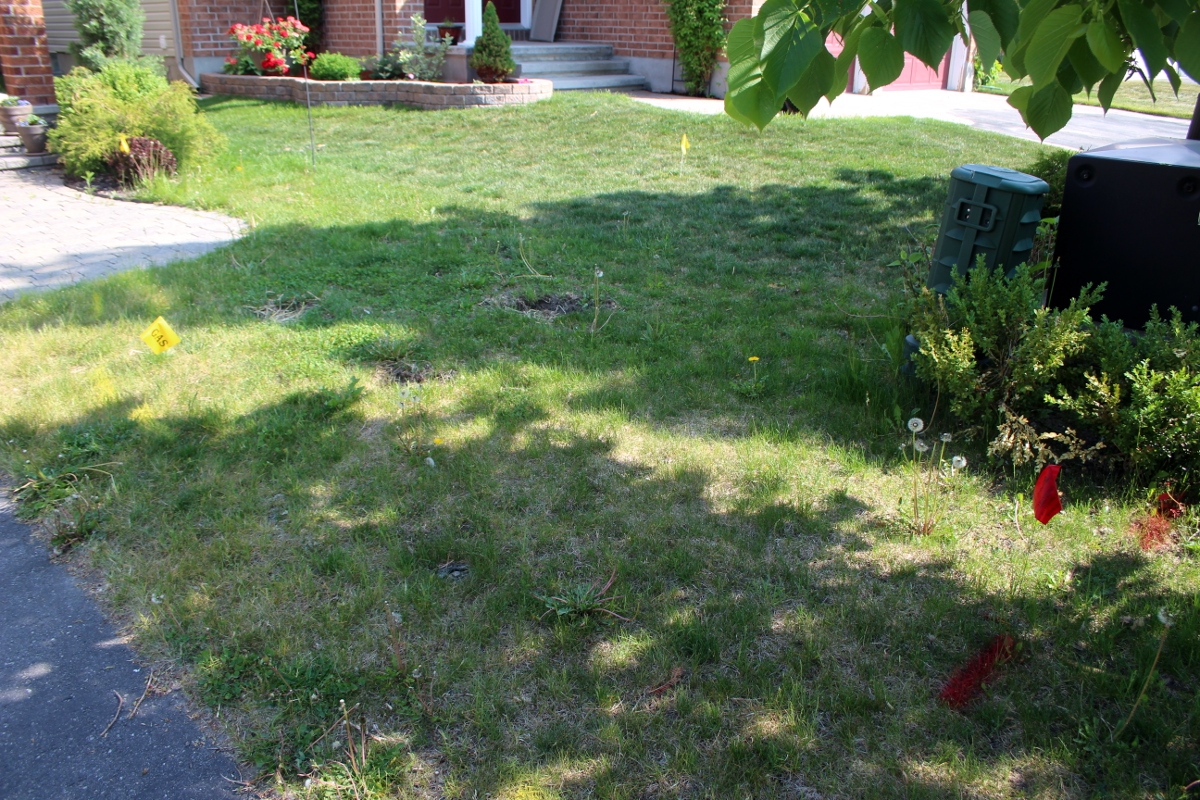
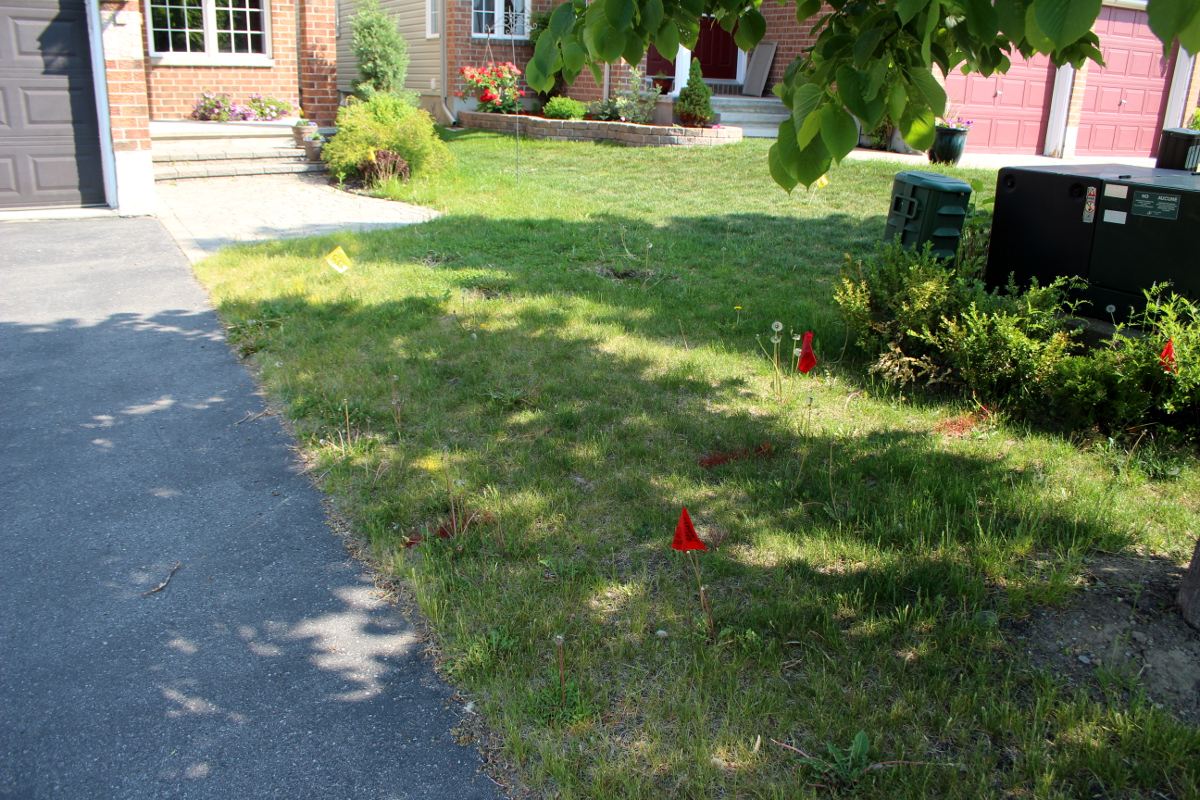
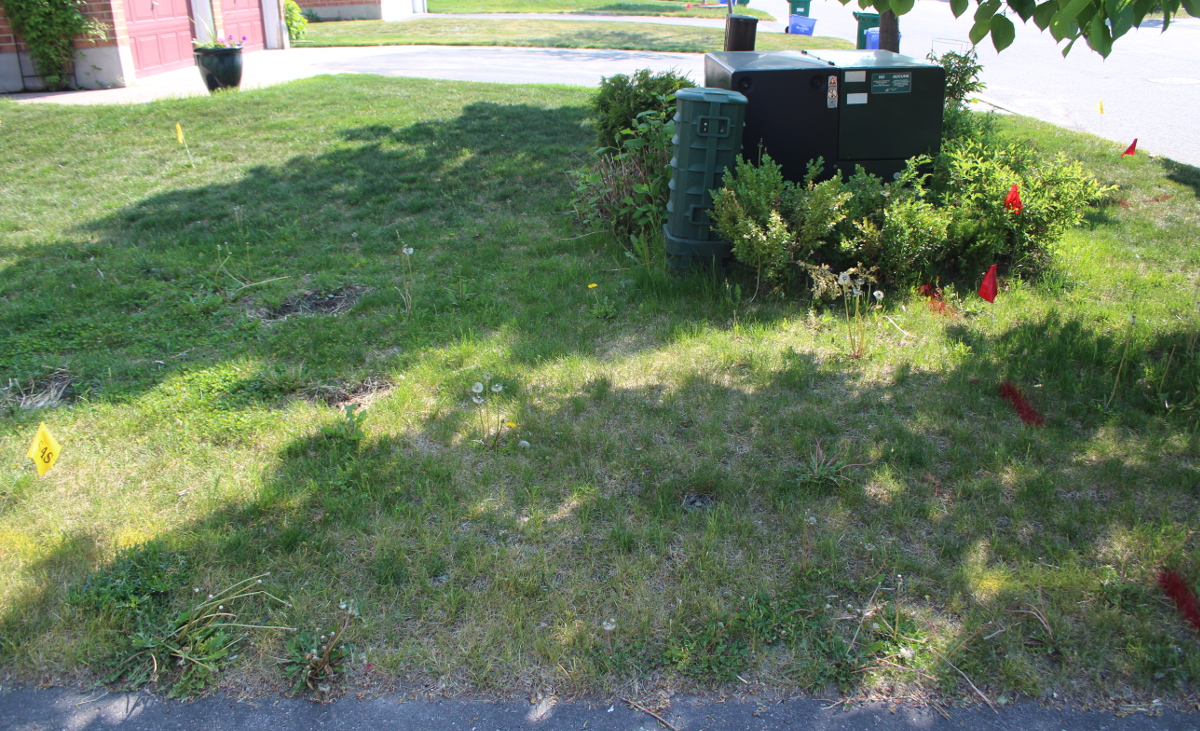
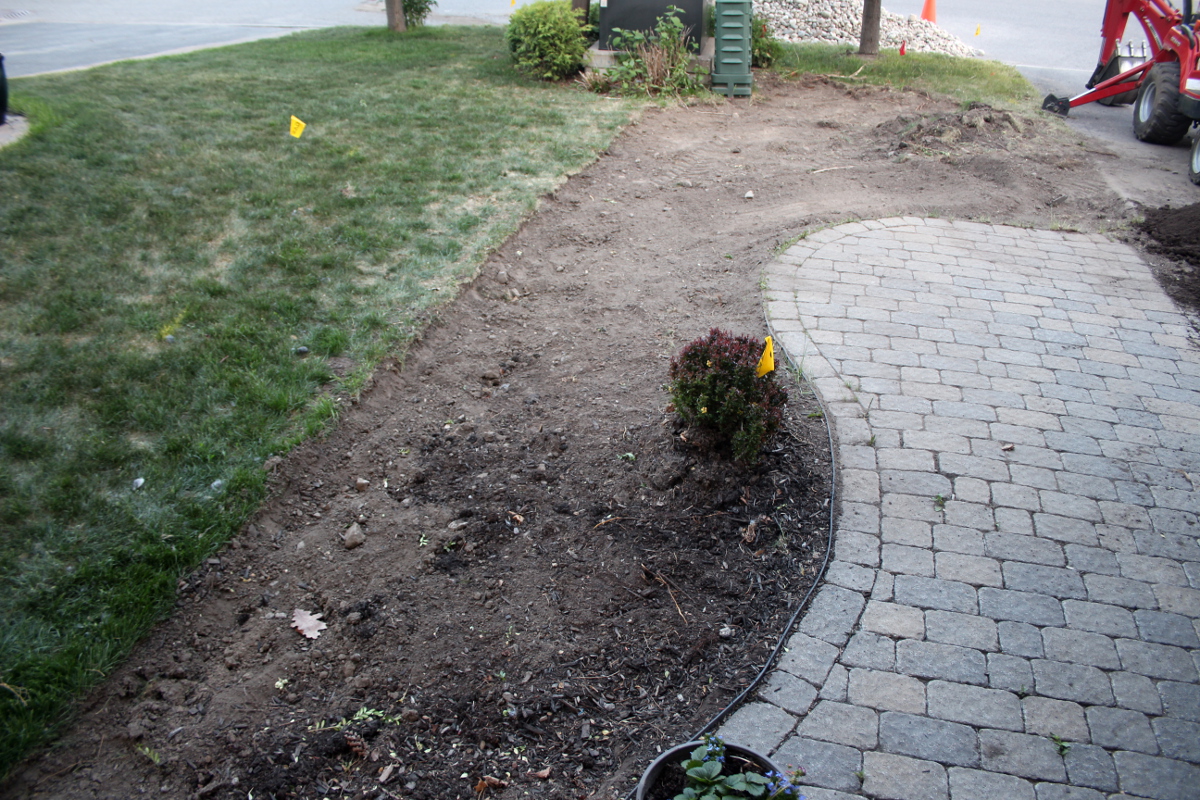
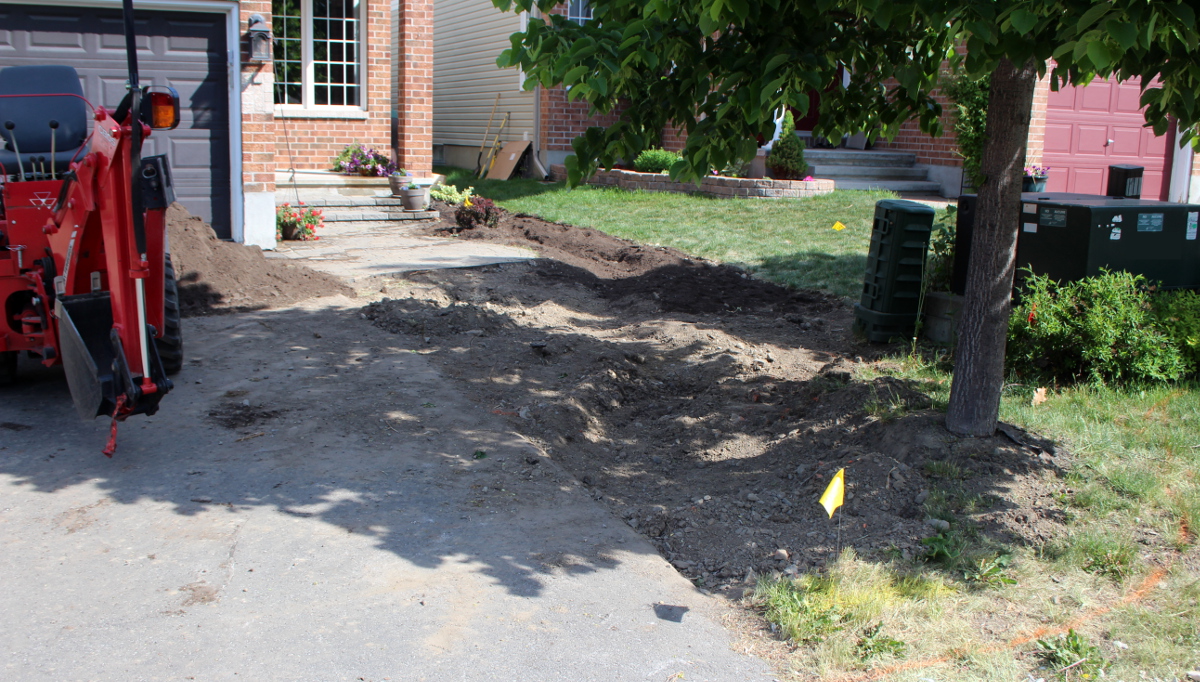
First, get the utility companies to mark where the cables and pipes lie, so you can plan the design around them and avoid hitting them while digging. This includes gas, electricity, phone, internet, water and any other services you are using. Most municipalities or states/provinces have a number to call or a site to visit to request a locate. The companies come by within a given period of time (for us it was a week) and mark the utility lines with spray paint and flags.
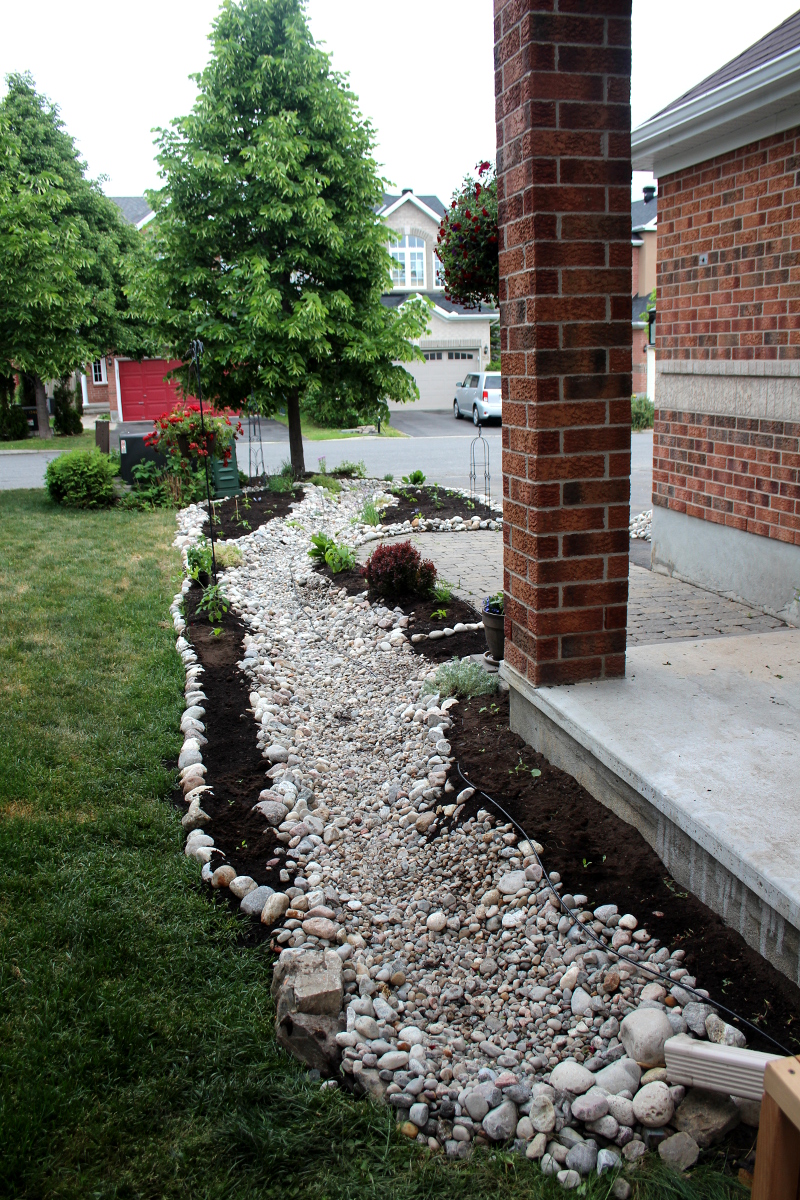
Secondly, plan where all the major landscaping elements are going to go. Plan the water path. For us it is coming from the roof spout, snaking through the ground between two garden beds, and ending in a small circular pond-like structure. Plan how the water is going to drain once it’s run the course of the “river” and ensure the exiting water will not be washing out the soil as it flows out. Plan the shape and size of the garden beds. Remember that you should be able to reach every spot inside the garden bed without stepping on the soil (otherwise you are going to disturb the soil and compact it, possibly damaging plant roots). If the bed comes out too big, consider splitting it into two or placing a stepping stone in the middle of the bed.
Consider that you will have to walk on the river bed in order to reach the inside of your garden beds. Walking on rocks does wonders for all those underutilized muscles in our feet, but it might take some time to get used to it. I walk barefoot on the bed rocks, so does my two-year old. My five-year old finds it easier while wearing shoes. Walking on such a varied terrain (with the slope and texture differing from step to step) is also an exercise in balance. I find it pleasantly challenging after hours of time spent sitting during the day.
If for some reason you cannot walk on the river bed itself, make sure the garden beds are narrow enough to be reached from the other side and plan where the paths are going to be.
Think where the prime planting spaces are. We have full sun in most areas of the front yard, which is where I planned to plant vegetables, herbs, and (on the other side of the driveway) blueberry and currant bushes. That’s where the largest garden beds should be. Reserve spaces under trees and where taller plants and structures create shade for greens and more delicate ornamentals. Consider using space closest to the road for non-edibles, since there is higher traffic in those areas of people and animals, as well as higher levels of traffic pollution.
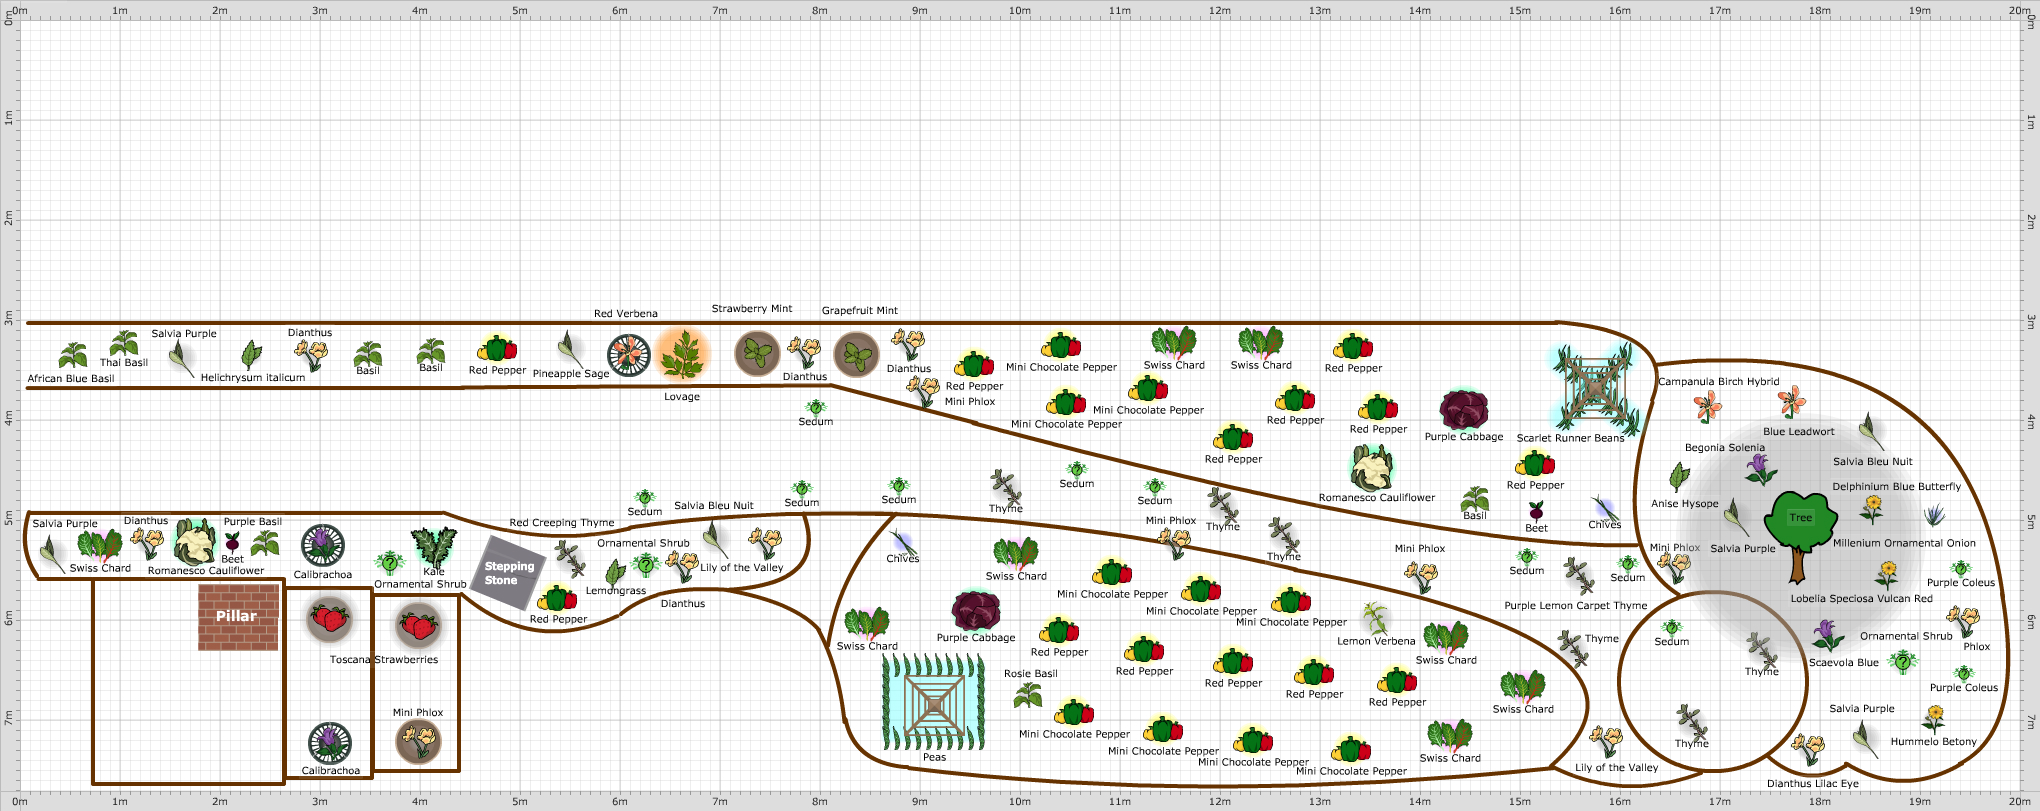
Here is our plan. It was first drawn on a large poster-size sheet of paper, and later I have transferred it into the Garden Planner format, albeit not to scale. The plan pictures our porch, the river bed going horizontally along the porch and then sloping down to the round pond, with garden beds framing it on both sides and a pathways near the porch (stepping stone) and near the pea trellis, where the bed starts sloping down. Avoid right angles and mimic nature so that the water flows in a smooth, curvy path.
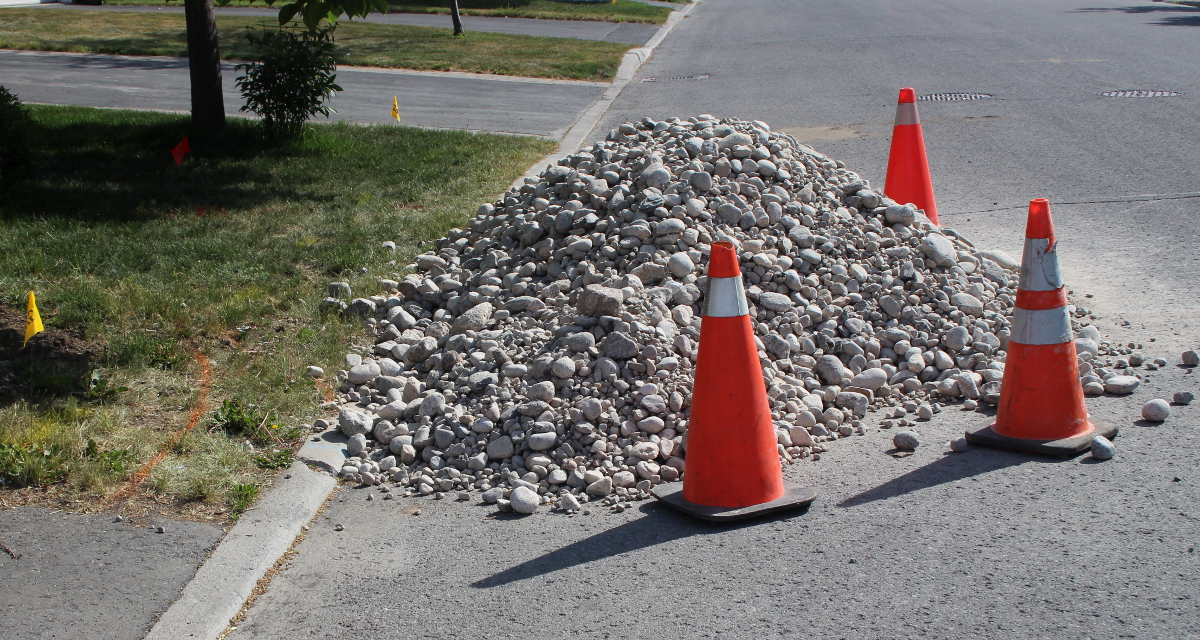
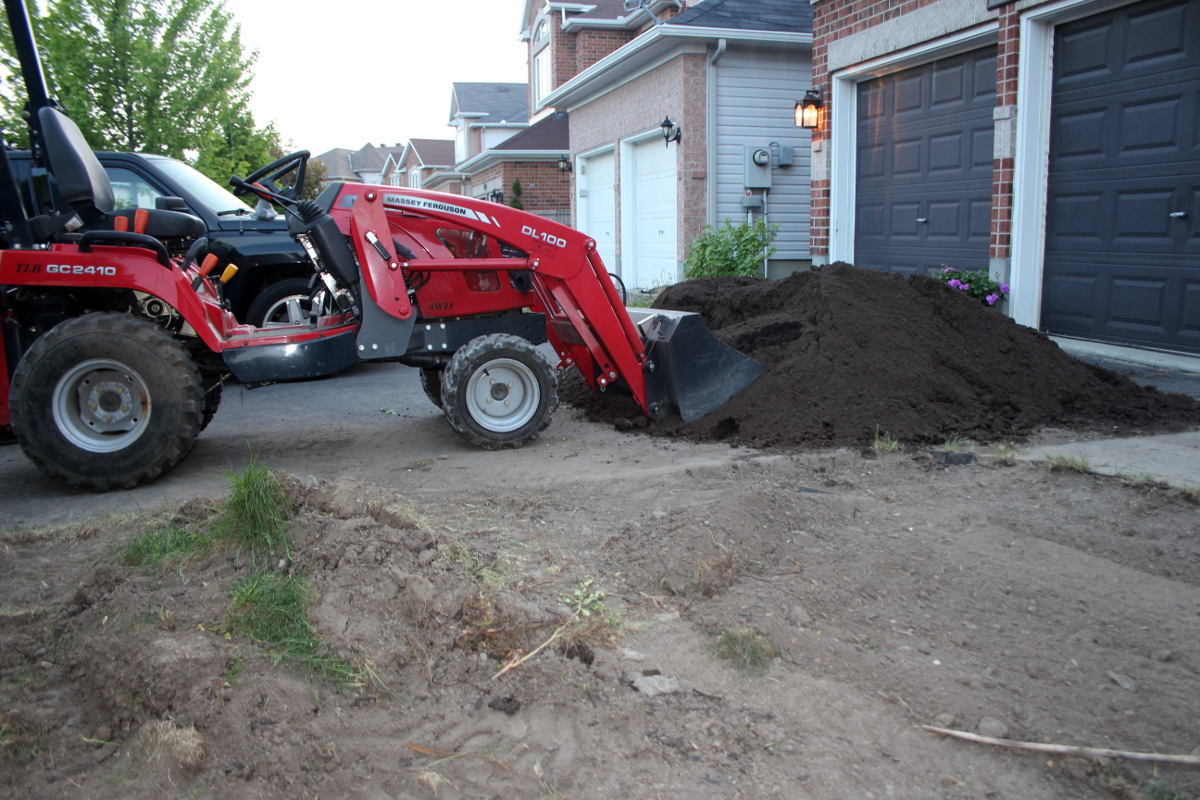
Once you are sure of your plan, source the materials. We needed soil and river rocks. The amount will depend on the size of your space. Since we used soil and river rocks in both the front and back yard, we got lots. We chose to have the rocks of mixed sizes, to create a natural look for the bed. Make sure to get good soil and compost, without toxic additives – after all, you are growing food, and your plants will soak up all of their nutrients from whatever soil you give them. We sourced top soil already mixed with compost from Greely Sand.
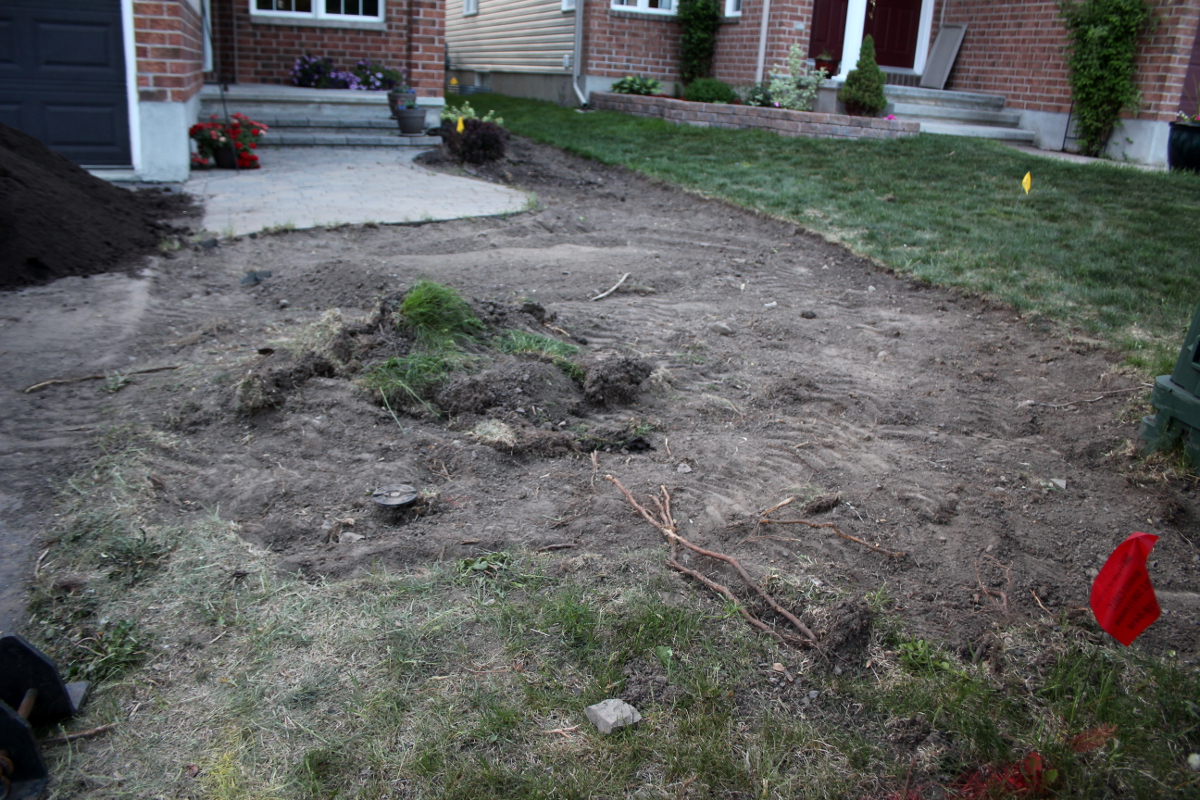
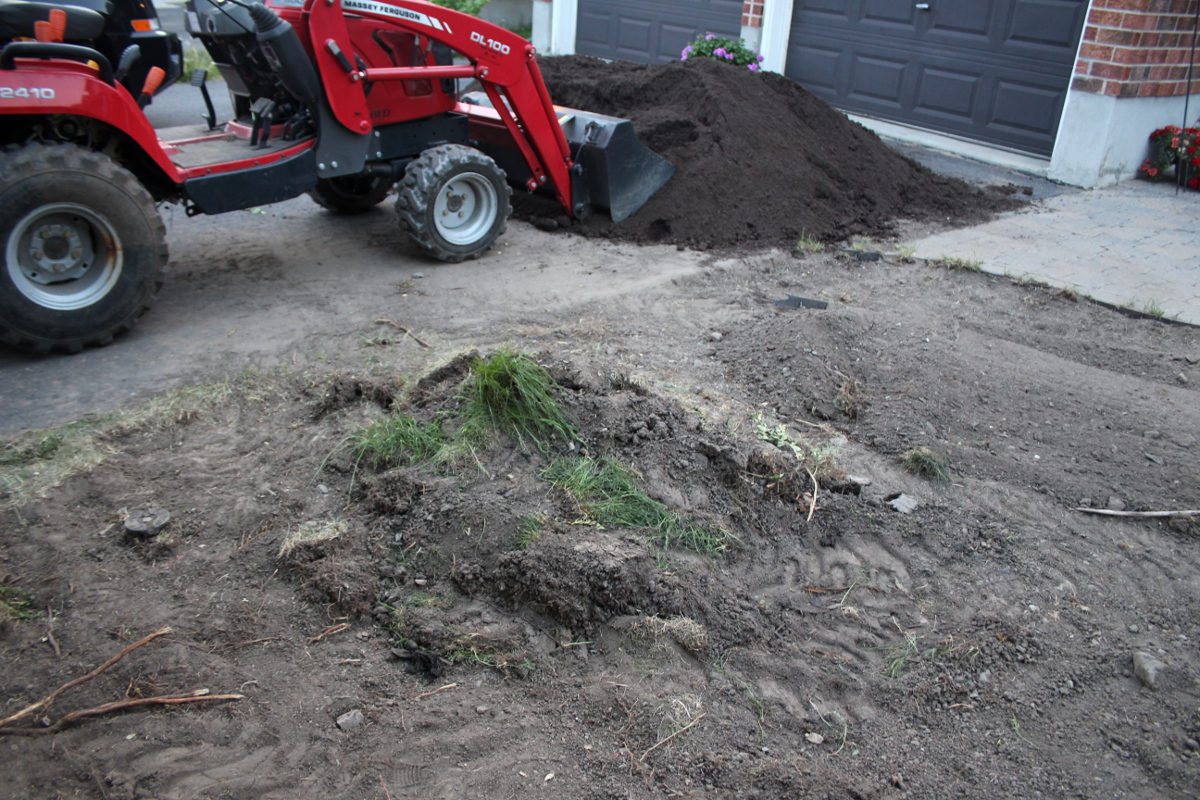
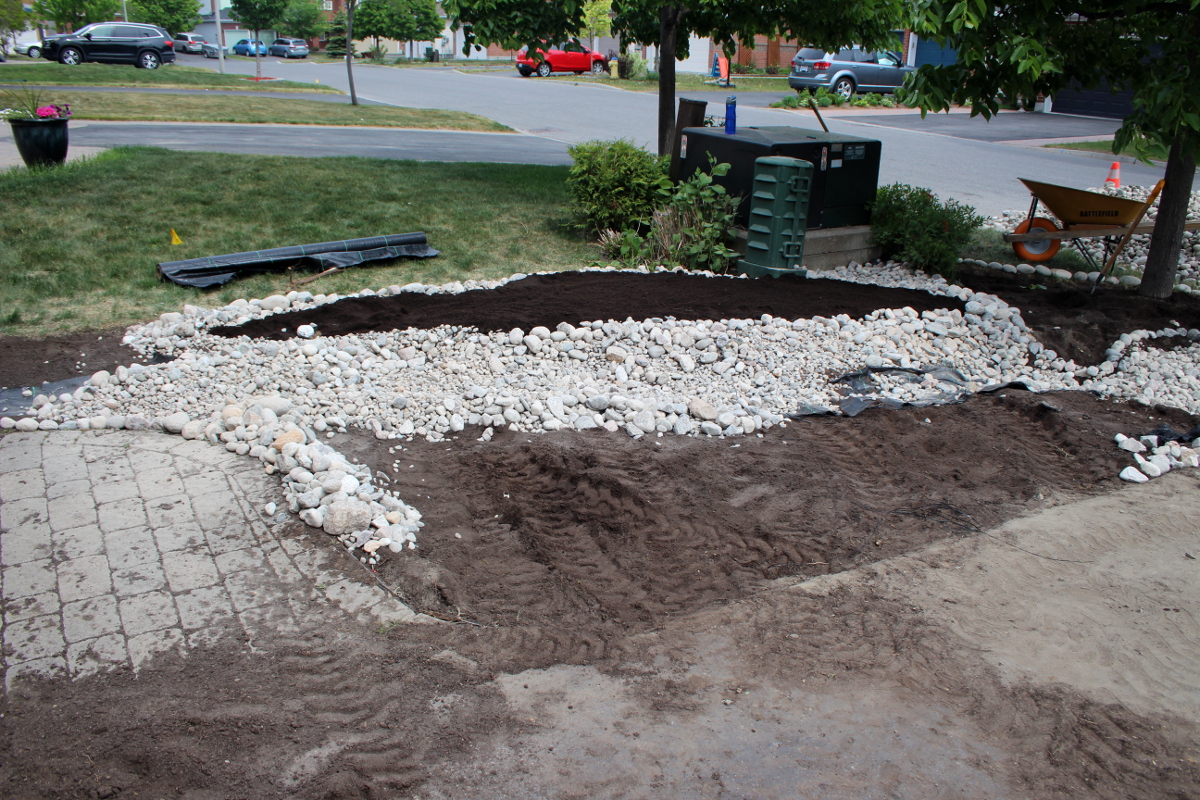
Next, it’s time to dig. For a large project like ours, we needed an excavator, since hand-digging our hard clay soil full of rocks was near impossible.
First, strip the top layer of soil, deep enough to remove all the grass roots and to accommodate the depth of soil needed for plants to grow. This will be the lowest level of ground around the bed.
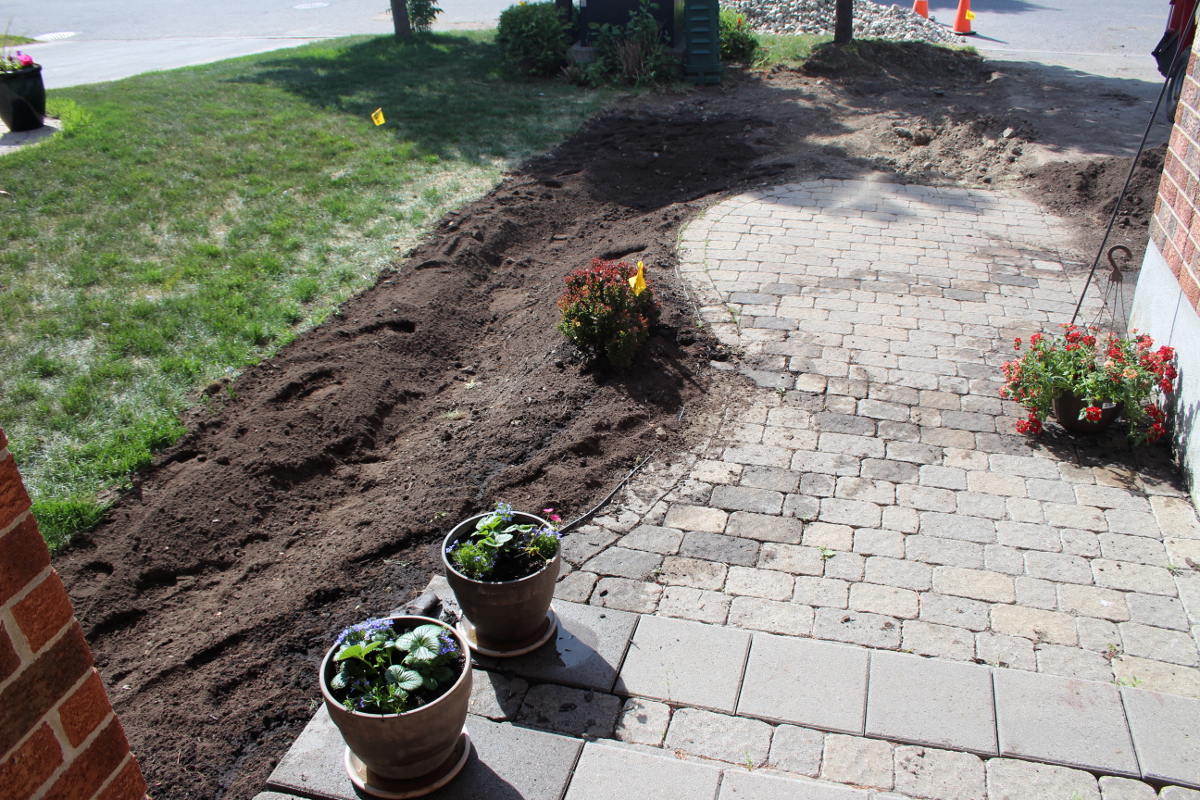
Next, create a deeper trench: dig deeper in the middle of the river bed, with the soil on the sides rising up. Vary the elevation, so that landscape looks more like a natural terrain and the water can flow easily.
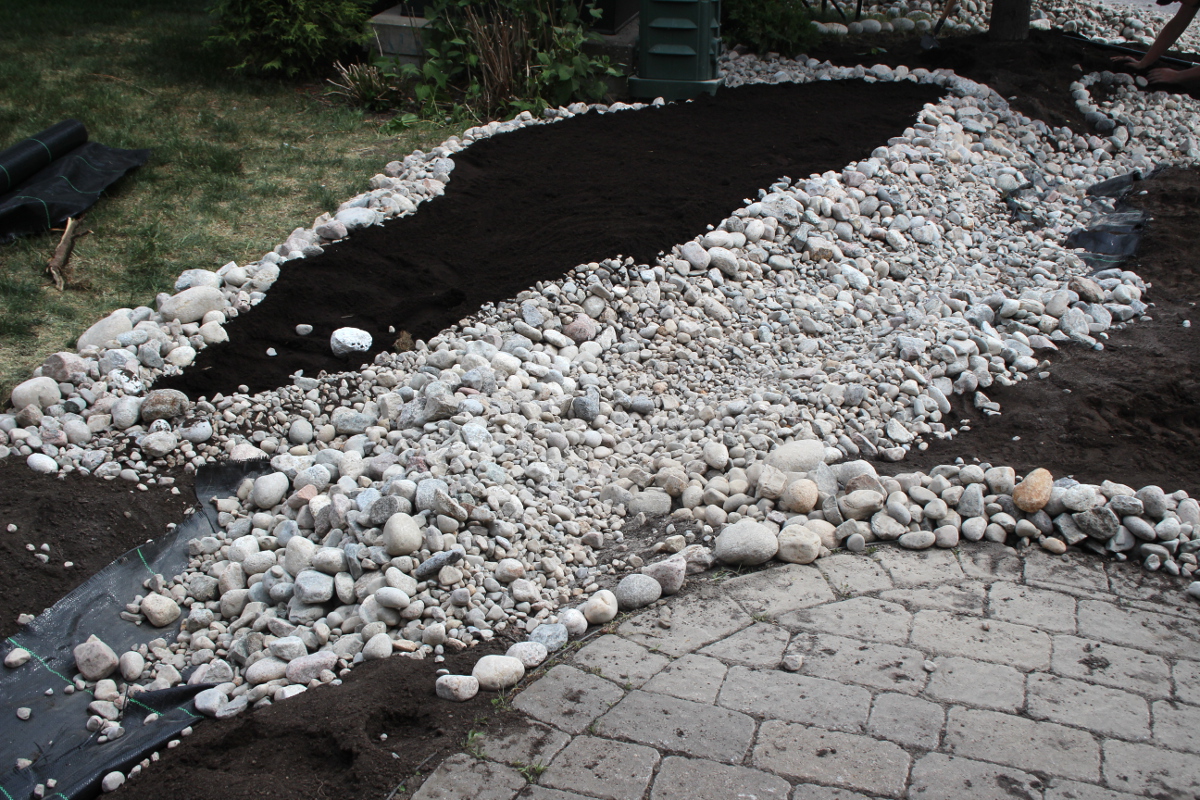
Once the digging is complete, add good soil to the river bed, padding the sides where the beds will be and providing enough soil for plants that shall grow among the rocks.
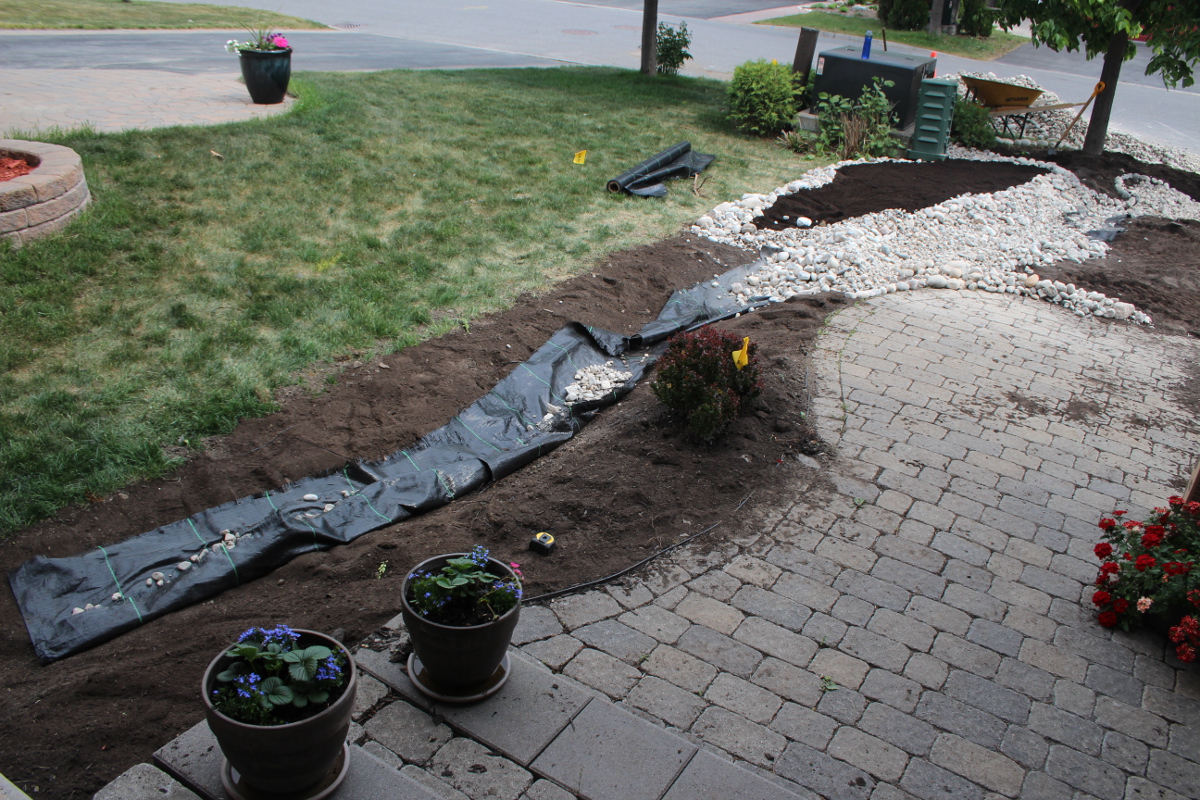
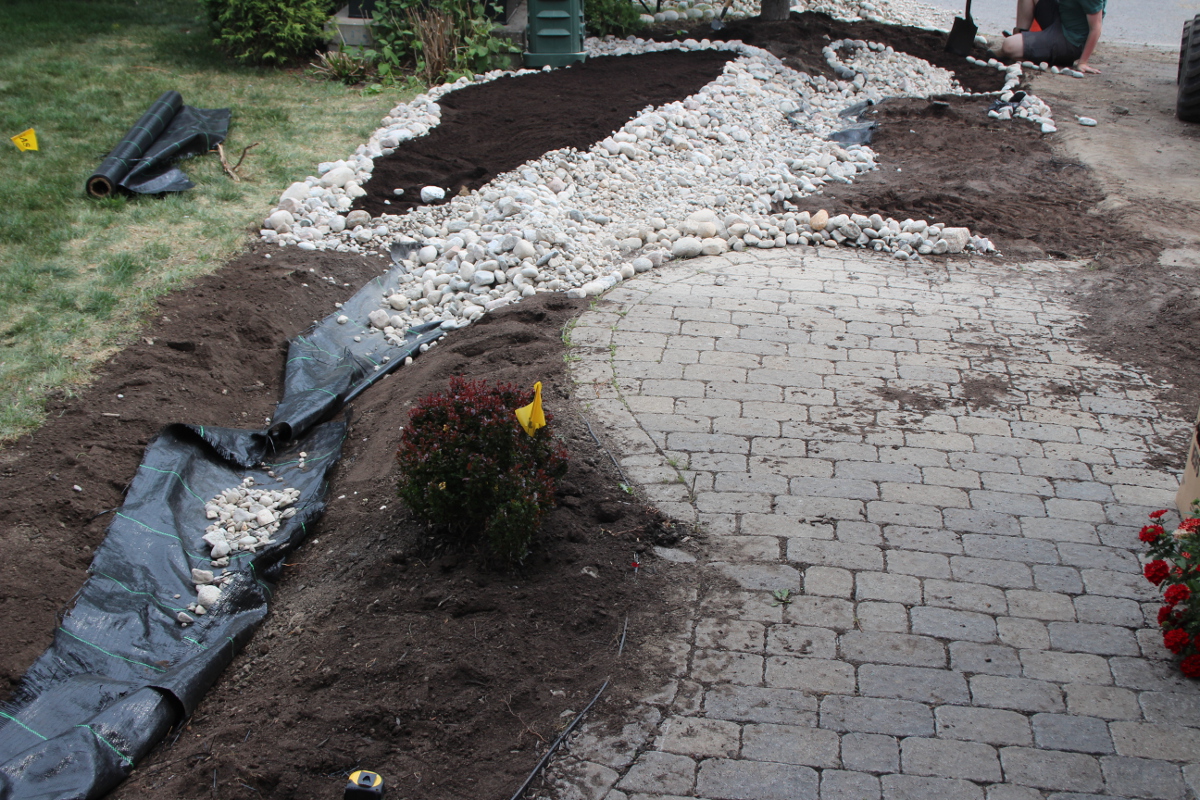
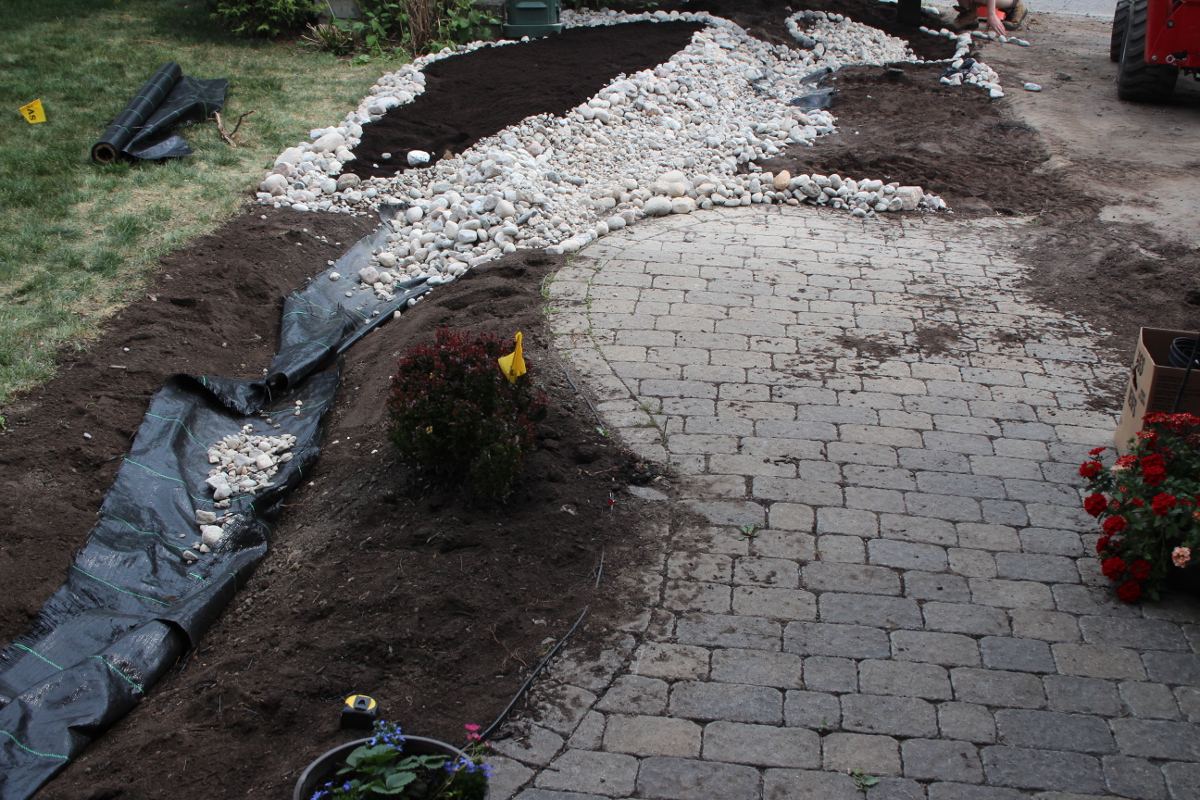
Put down landscaping fabric to cover the bottom and part of the way up the sides of the river bed. We left the pond without a cover, as we wanted the water to slowly sip out and not be forced out washing away the soil on the sides.
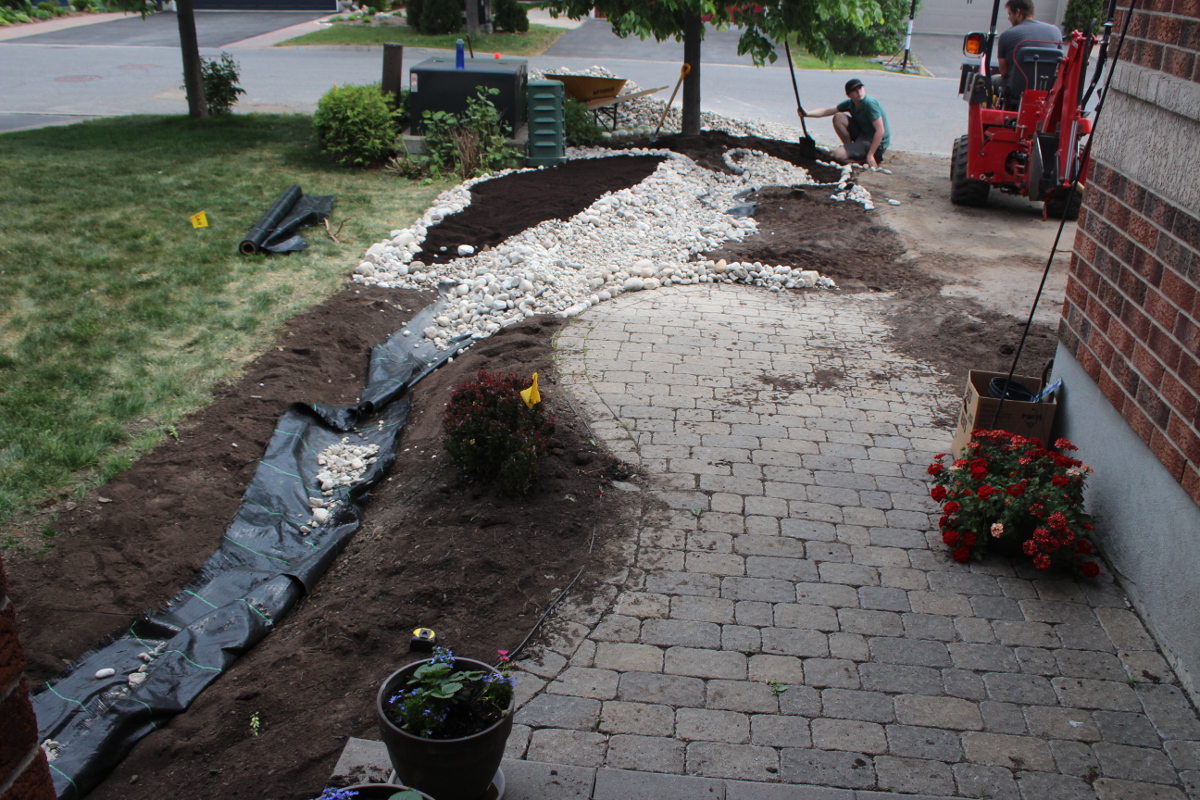
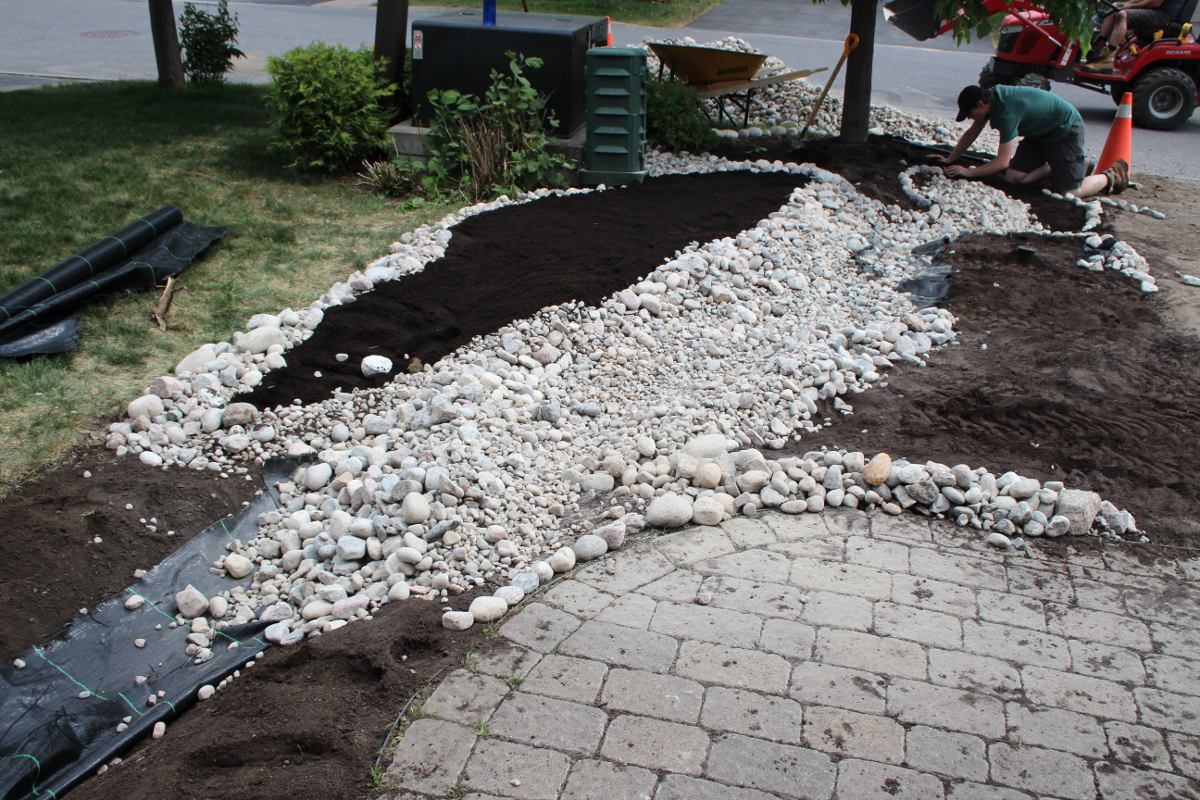
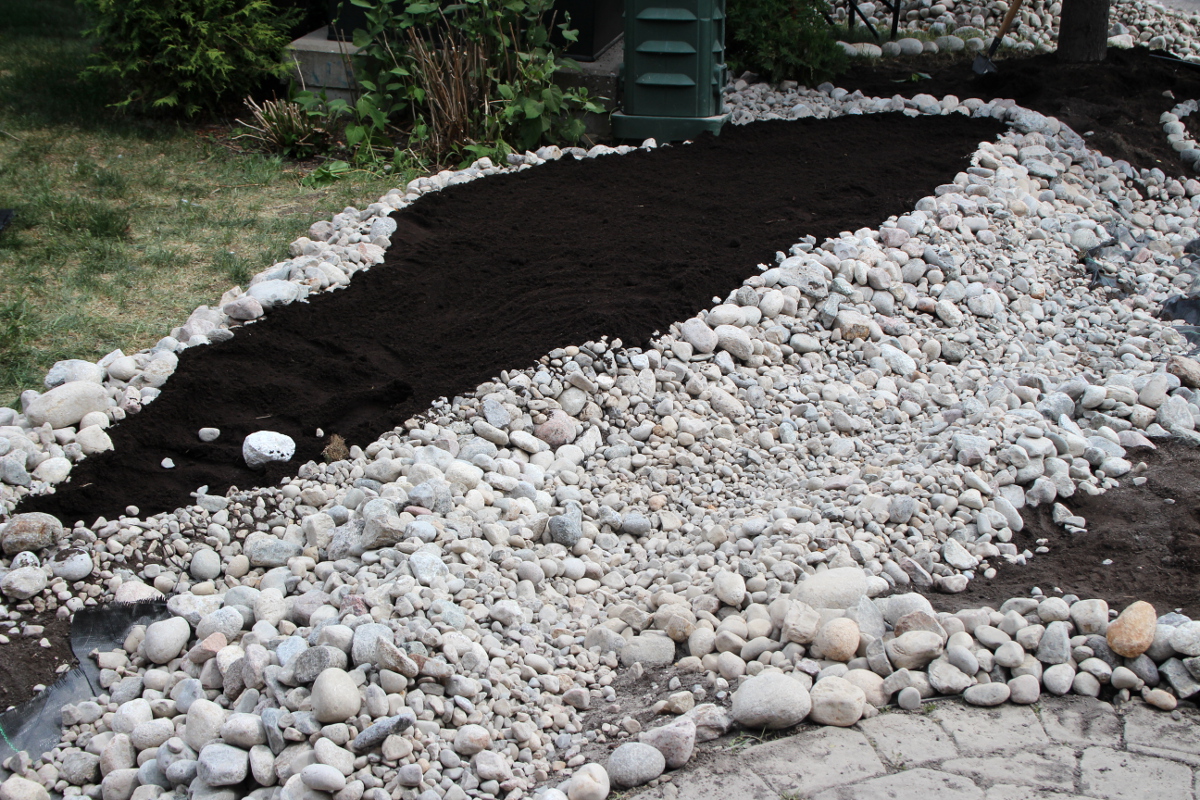
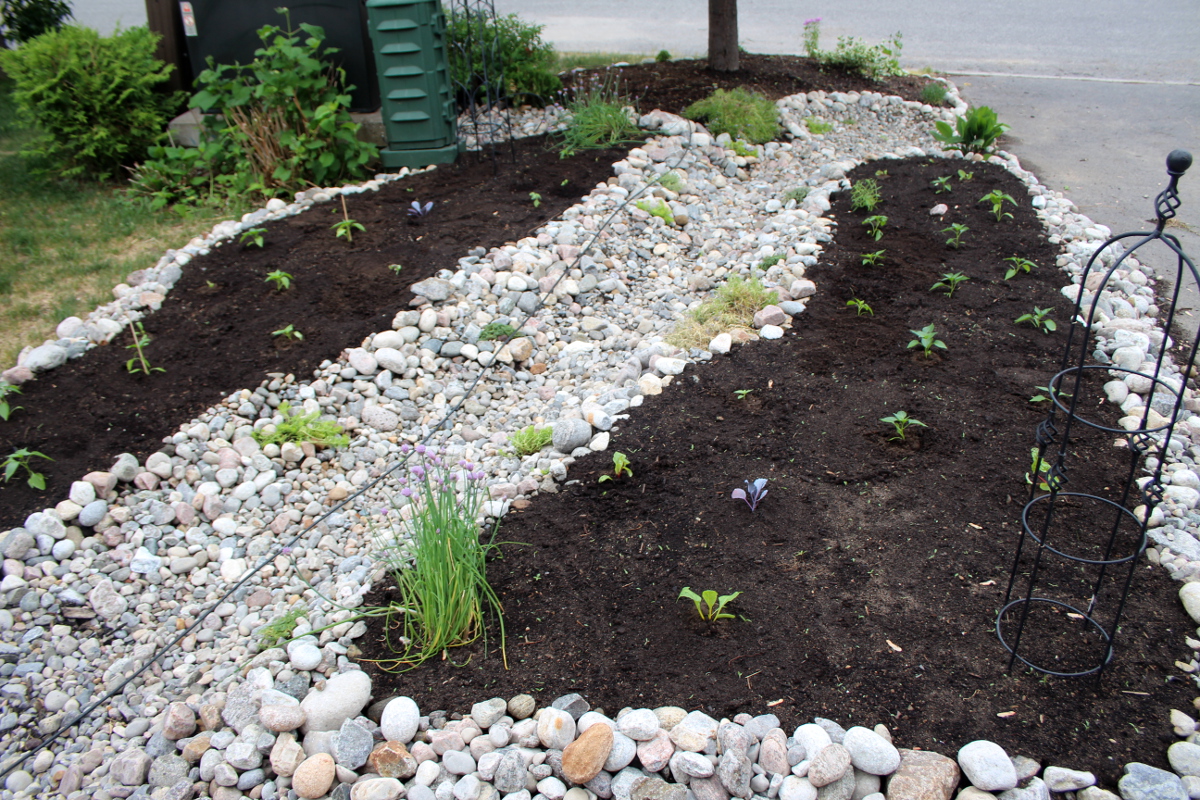
Dump the river rocks in. I found it helpful to first take a few rocks and outline the shapes of the beds first, to guide the construction. We had to use machinery to lift and carry the rocks or it would have taken a lot longer. Dump the rocks in a border around the garden beds and inside the river bed. Add the soil into the garden beds. Alternate soil and rocks so that they support each other, until the garden beds reach the height you need.
Then rearrange the river rocks so that the smallest are at the bottom and the medium to largest are on the sides, to mimic the natural look of a river bed. This needs to be done by hand. Shape the garden bed and river bed borders by hand, to smooth out the curves and achieve a natural look.
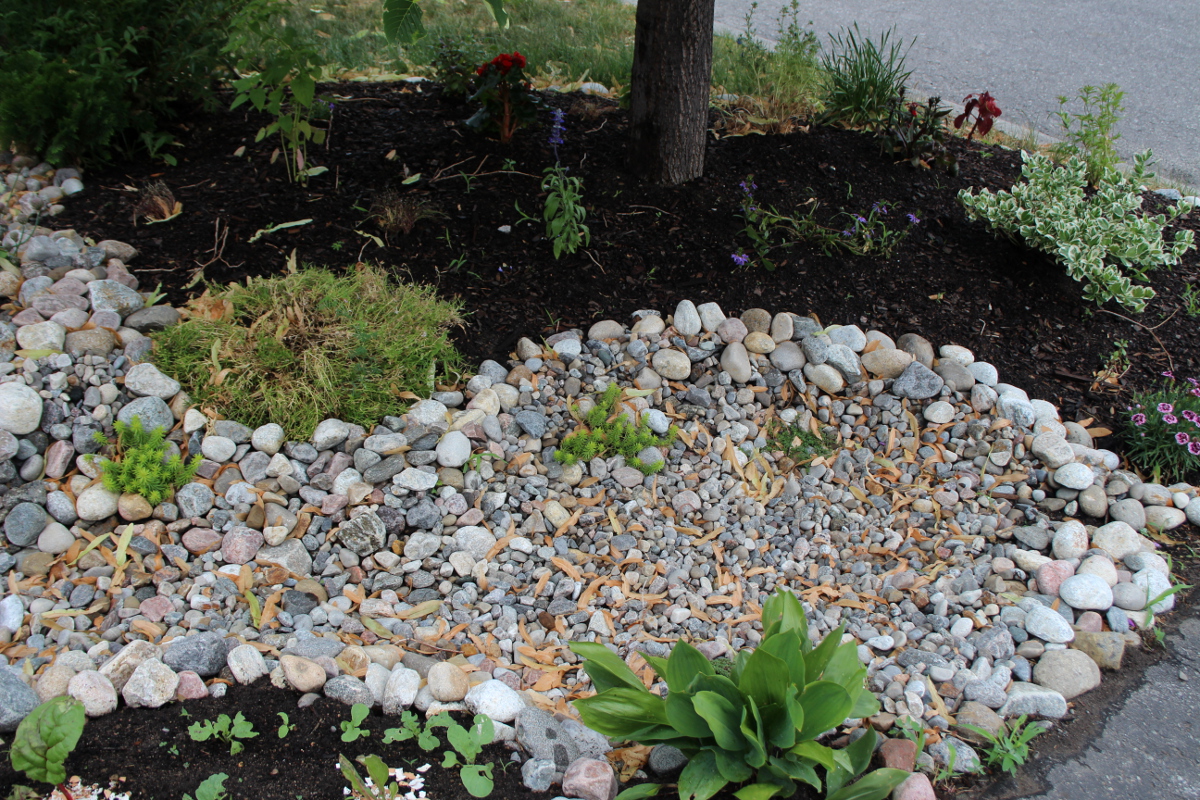
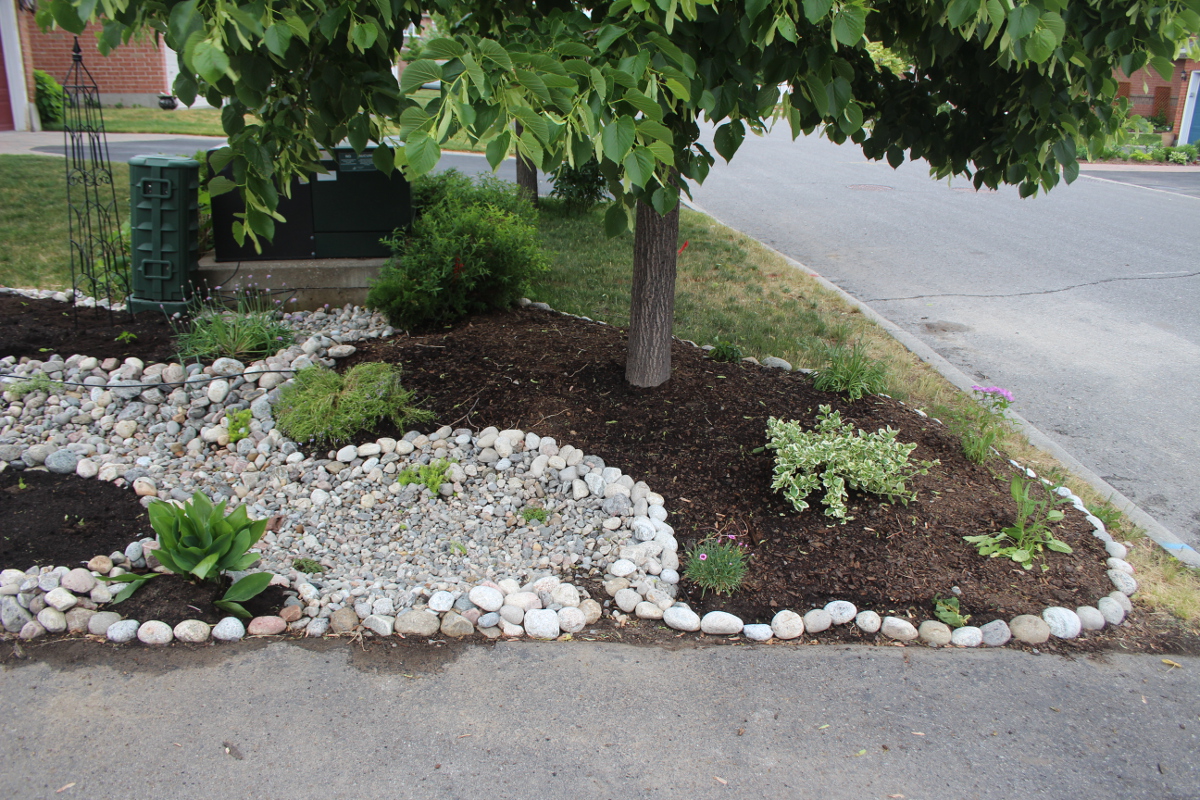
Shape the end of the water path. We have created a round pond-like area, with smaller rocks on the bottom and larger rocks around to create a more sturdy border with a path for the water to exit.
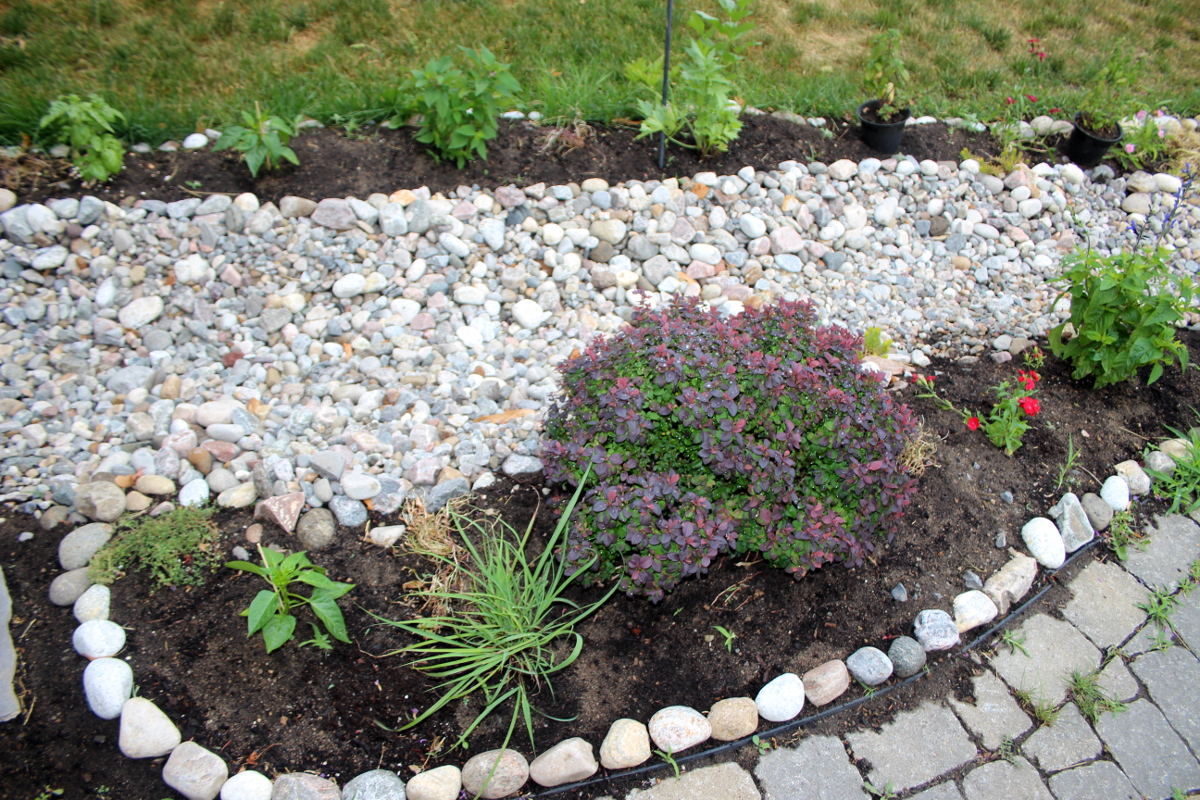
Build the borders to your beds with larger rocks, to prevent soil from washing up and to visually split up the large beds into smaller areas. Get your children to help out by picking the rocks of whatever size you need and building borders with you. Playing with rocks is fun.
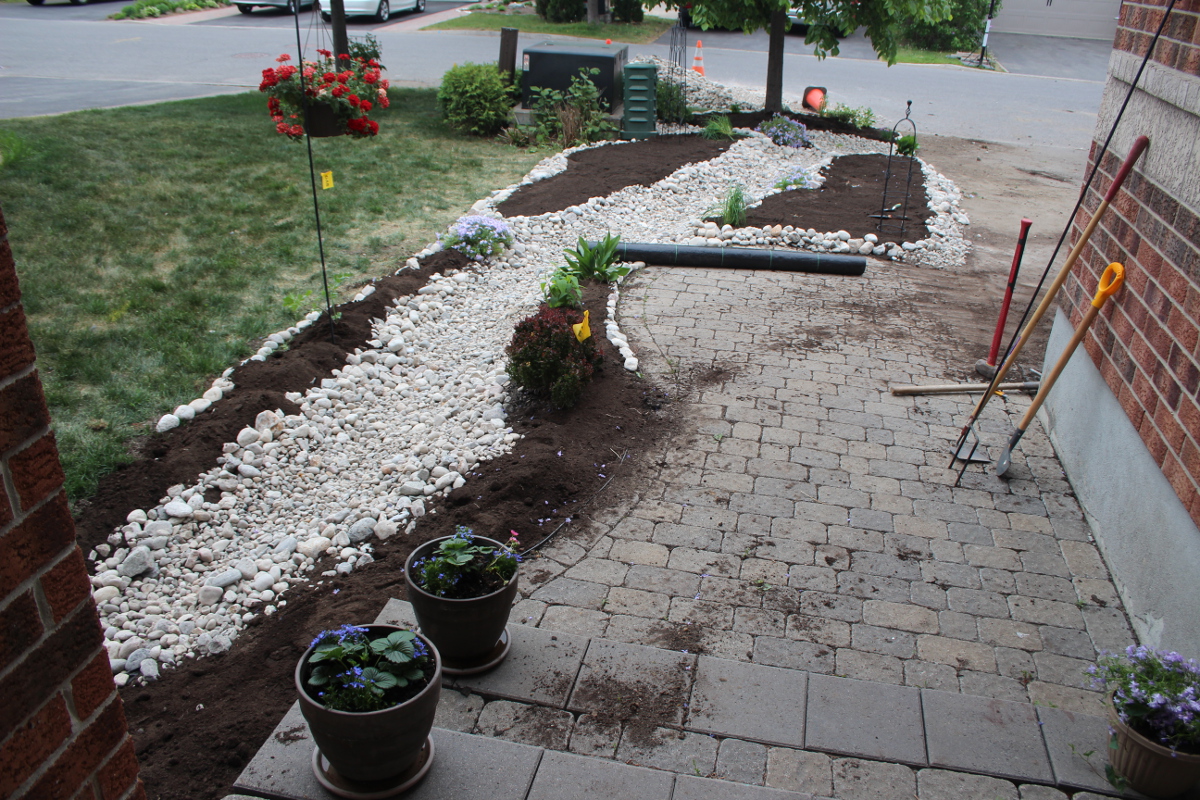
Use small spaces for an accent – here a lily of the valley is planted in a small bordered space, creating a smaller rounded area next to the circular pond.
Place a few larger rocks near the spout so that the water doesn’t hit the small rocks at the bottom hard and wash them out.
Now it’s time to decorate the plain river bed.
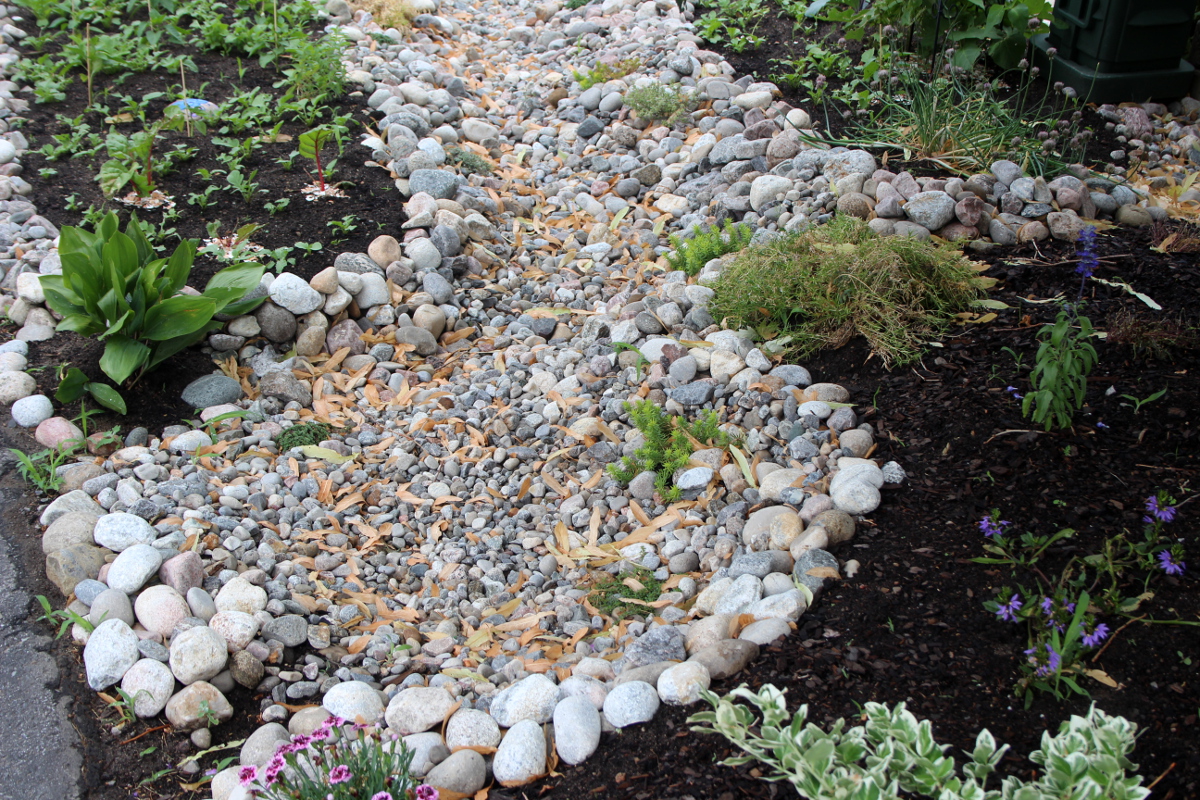
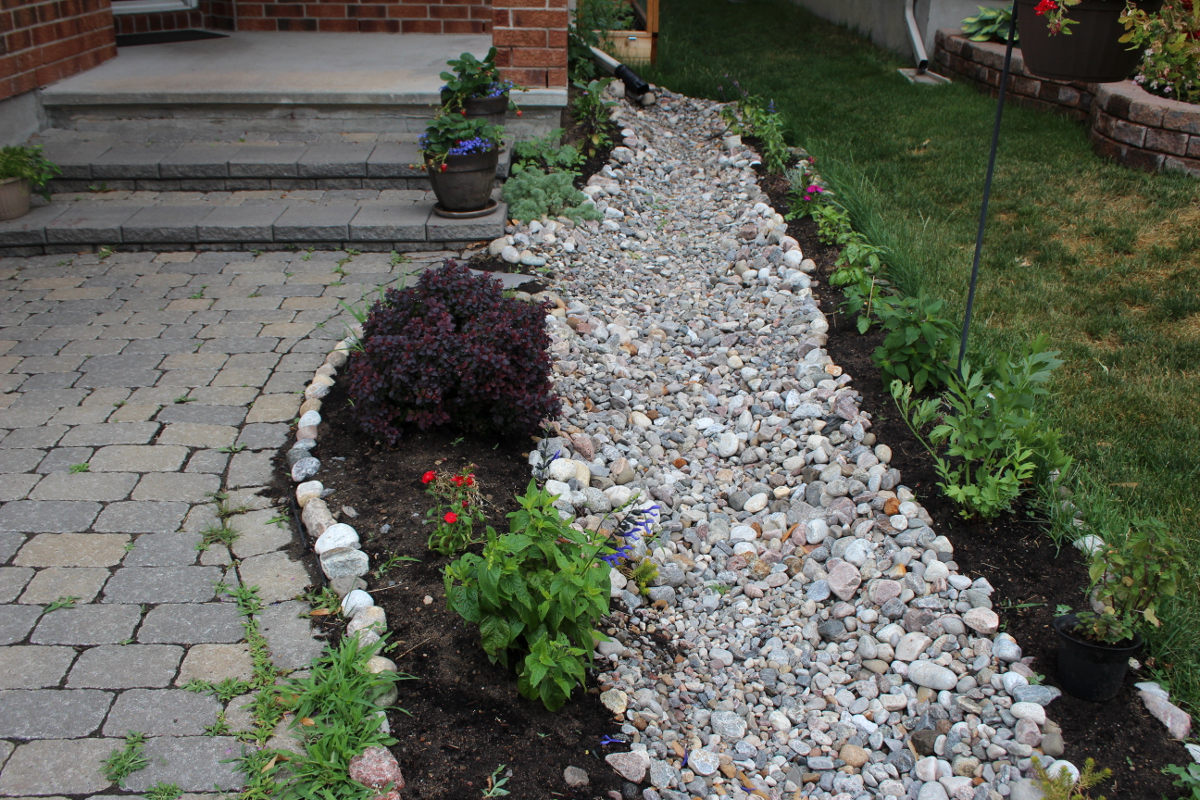
Plant larger plants (herbs and ornamentals) around the sides of the river bed: we have chives, basil, lemon verbena, lemongrass, lovage, mint, salvia, dianthus, lily of the valley, and mini phlox framing the rocks.
Consider planting Swiss chard, beets, and kale as ornamental plants – their foliage is both beautiful and delicious.
Use larger bushes to strengthen the curves – here the purple leaf bush contrasts with the white rock border, bringing attention to the curve separating the pavement stones from the garden bed.
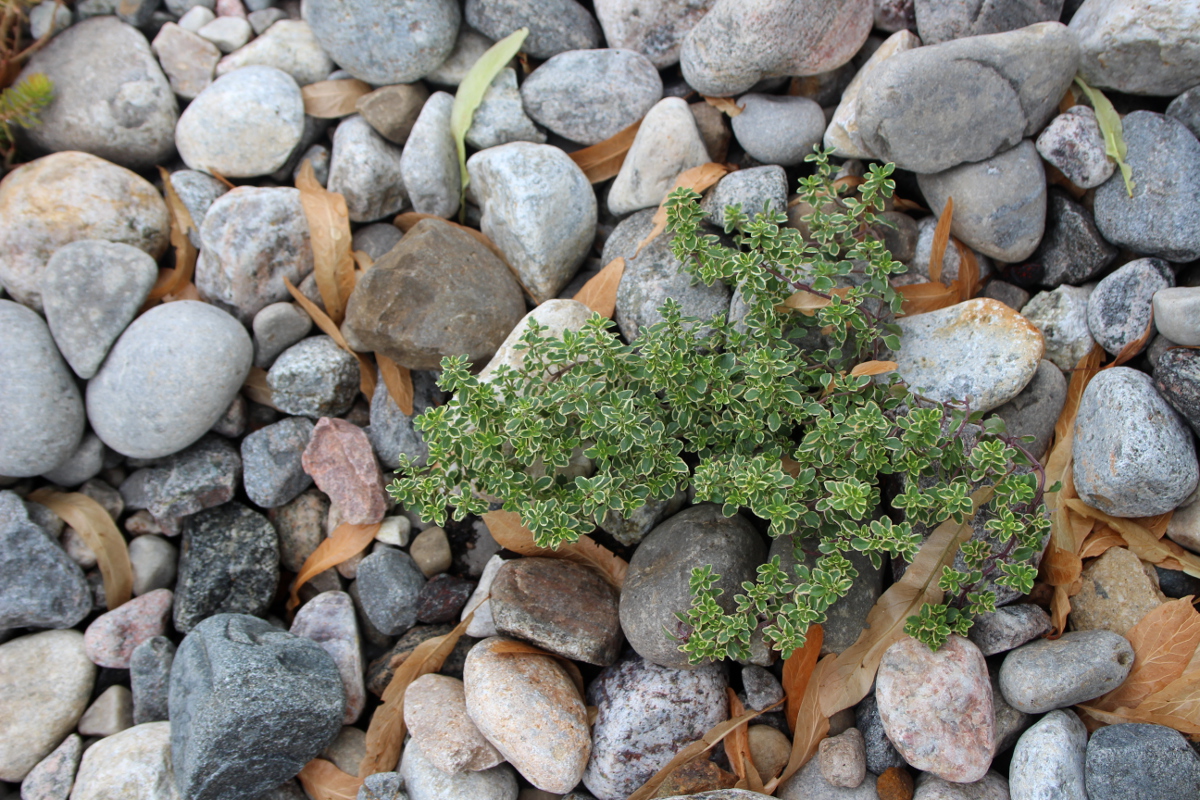
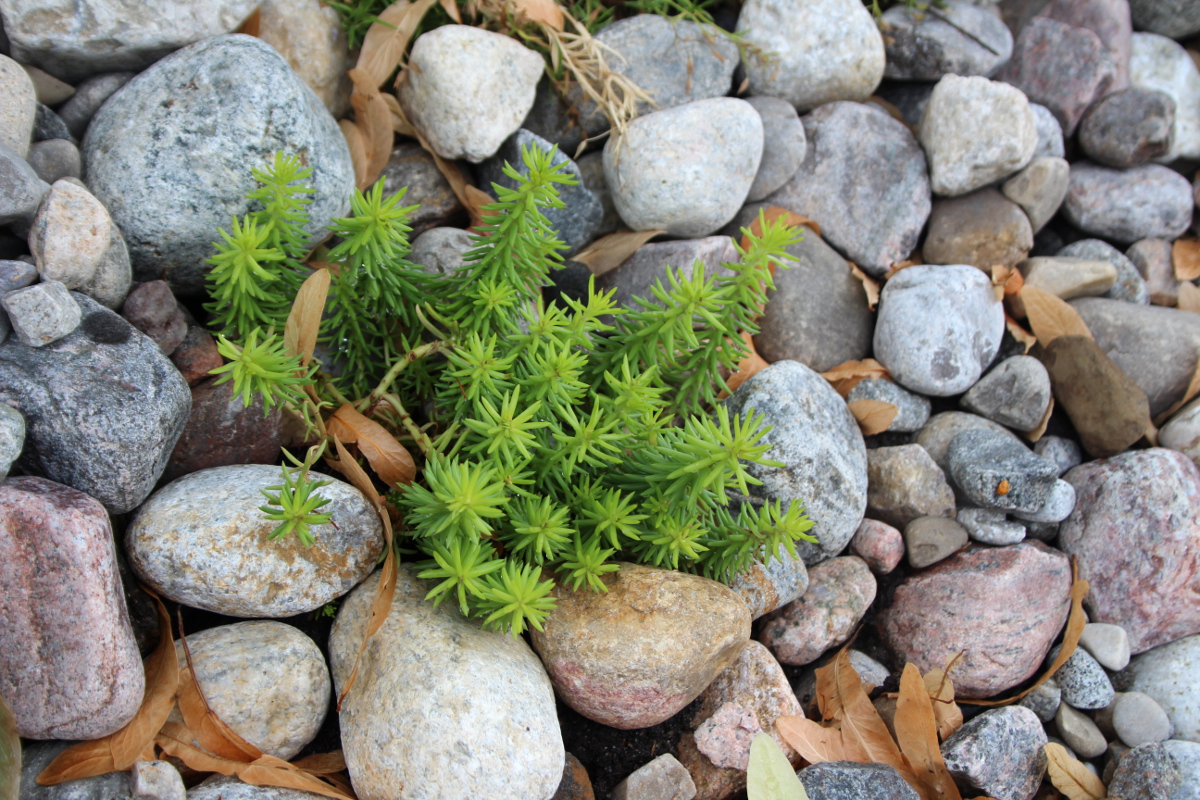
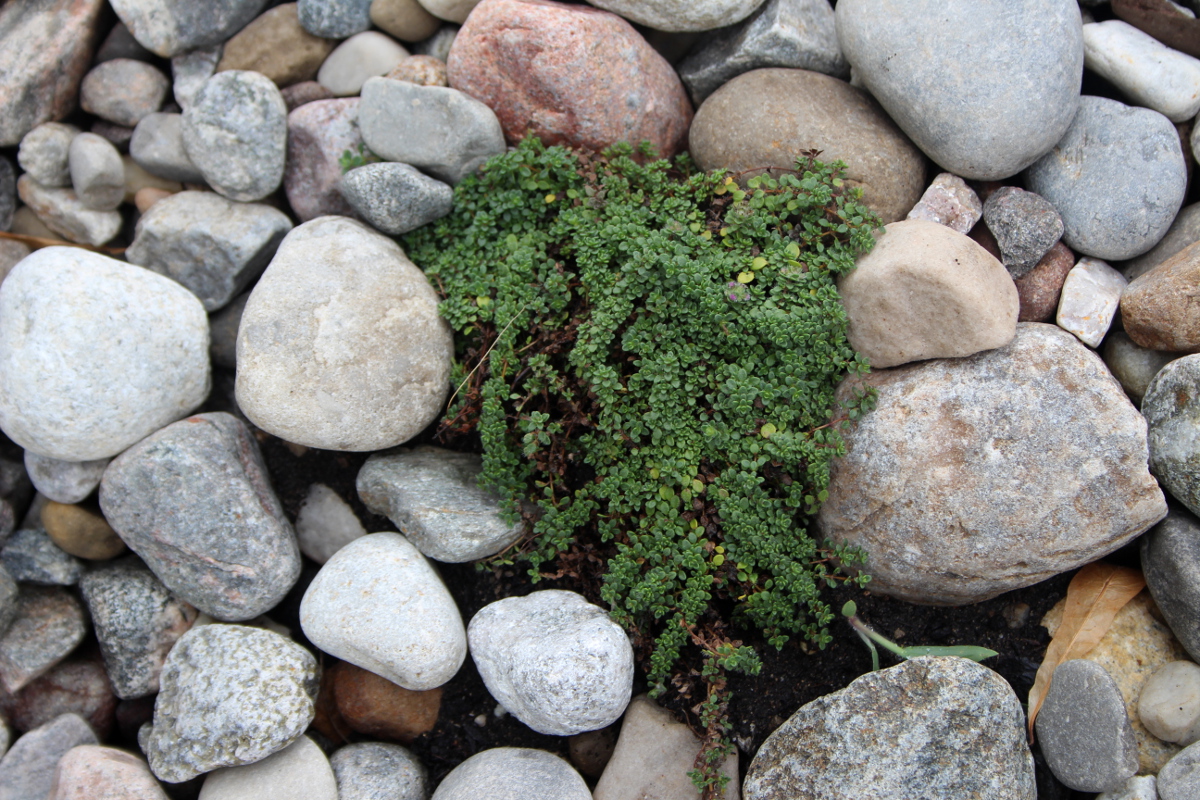
To create a more natural look, plant some thyme or other small creeping plants between rocks. Add some soil if needed and once planted, pack the soil with rocks all around, so it does not get washed off. In our case, the river bed is often dry and very hot, so whatever you plant in between rocks must be very heat resistant (heat reflects off the rocks) and be hardy enough to survive if the rain does not come for a while.
Add a few accent pieces. Vertical trellises and topiaries are a wonderful way to bring another dimension to the garden. Scarlet runner beans make for a beautiful display when they are blooming. You can also hang a blooming basket from a shepherd’s hook or plant a small tree (be carefull in selecting one though – many “dwarf” trees still grow quite tall, and their roots needs space).
Use components in groups of three. In our design, there are two topiaries and a shepher’s hook creating a visual triangle. There are three mini-phlox plants, accenting the corners where river bed and garden beds join, creating another triangle. It avoids symmetry and creates a more natural look.
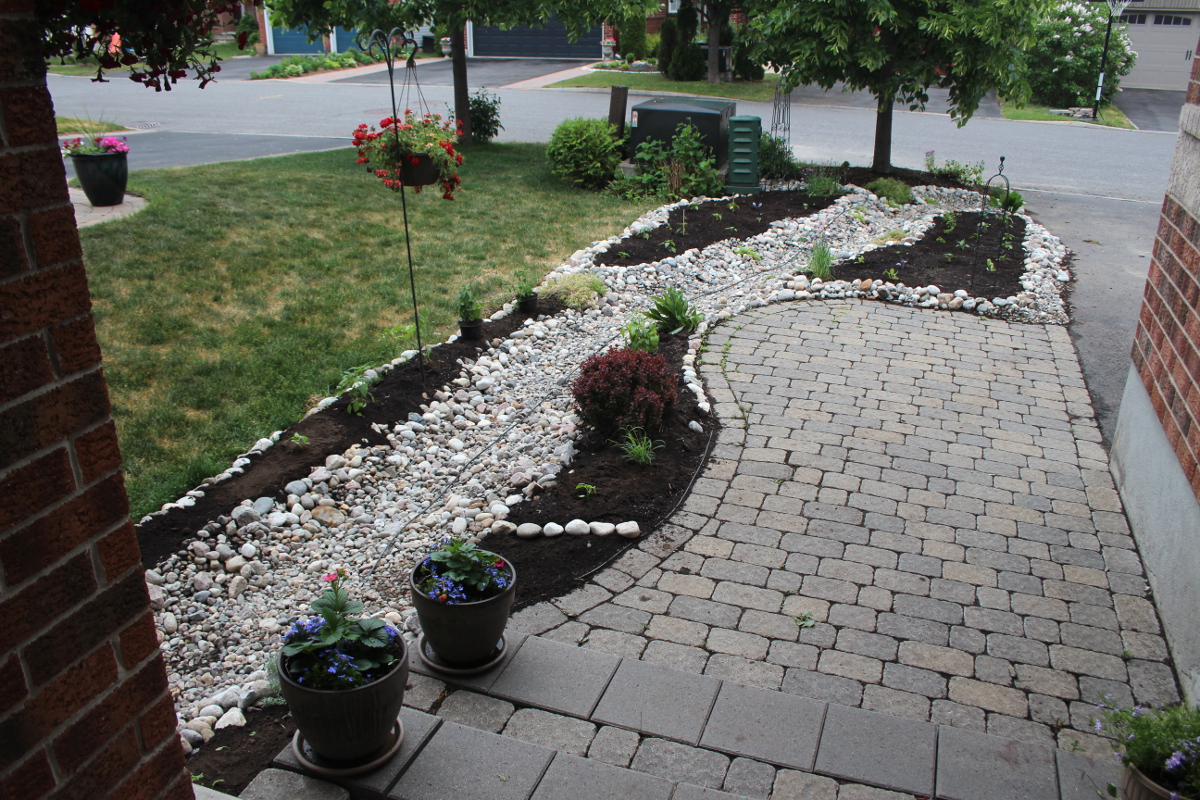
The first time it rains, check how the water is flowing, whether there are any spots that need smoothing out or building up. See that the water can exit without damaging any other landscaping elements. Once the rain is over, examine and correct the problem spots if any.
For us, the first run worked very well (even with an incomplete river bed: for a few days, we had a patch without rocks between the spout and the river bed to create a path to the back yard for a wheelbarrow to pass). I had to adjust the rocks in the pond, to ensure that the water can flow freely out onto the driveway instead of the soil. It has worked well since then.
You can see that brown leaves have accumulated in the river bed – those were falling from the tall tree growing above the pond. However, after two or three rainy days, most of the leaves are gone.
Now that all the hard landscaping is done, it’s time to plant the vegetables and herbs. Consider companion planting. Some plants deter pests that would otherwise devastate plants growing next to them. Others fix nutrients needed by their neighbours. Many herbs and flowers attract beneficial insects that help pollinate the flowers, consume other pests, and provide food for birds which in turn also help with critter control. Some plants deter four-pawed mammal guests as well.
Above all, be creative and enjoy this space. It can be a space of wonder and relaxation for you and your family. We all can learn so much by watching plants grow. And water flowing along a rocky river bed during a rain is a wonderful focal point for meditation.


I adore this. I was wondering where your river drains to?
The pond at the end has an opening close to the boundary of the driveway and the road, so that the water runs off the driveway and then along the road into the drains, since the driveway is slanted towards the road.
Love this and I am planning my own. Did you use landscape fabric or plastic sheeting? It looks like plastic. Wouldn’t the water just sink into the ground thru fabric?
Sheila, good question. It does look like plastic. It was provided by Edible Landscaping Ottawa, so I do not recall the details. With it, we don’t appear to have any issues with water seeping through.
This is one of the best ways to build a river bed on a lawn. I appreciate this content, and I will use this content in one of my papers now. I hope the readers will understand me for sharing this information.