Over the past five years, we have accumulated a collection of several garbage bags chock-full of children’s clothes, from newborn to size 5, three boxes of shoes and boots, and bulky winter coats of various sizes. This is the reality of a mother with more than one child, where the clothes are being used at two different sizes by two children. With the recent move, I have been faced with the need to arrange all of them into some semblance of order. One of our rooms has a large double-closet, and it seemed like a perfect place to organize everything.
I couldn’t take a picture of the initial pile of clothes since it came in so many bags and boxes that I just kept bringing them into the room in a conveyor fashion. Here is how I organized all of the children’s clothing, shoes, and coats. Quite a few got donated.
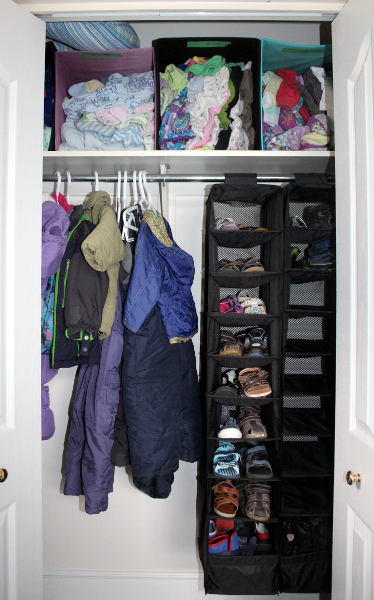
I used 9 bins, 3 shoe containers, and 20+ hangers.
Step 1. Rip up several pieces of painter tape, write the clothing sizes on them and stick them in a row on the floor to mark where to place clothes of each size. You can see the green painter tape in the picture near the blue cable that runs horizontally across the floor.
Step 2. Sort the pants, tops, dresses, sleepers, jackets in separate piles on the same vertical axis associated with a single size. This makes it easier to match the length of items that are listed as different sizes or use different country sizing (for instance, sleepers that are listed as 24-months and 2T are often of the same length). I chose to not have a “newborn” category since my babies are pretty tall, and I’ve picked the bottom size where a range is specified for the same reason (so, if it said 12-18 months, I put it into the 12-month pile, since that’s usually when my babies would start using it). I have also separated hats and winter accessories (scarves and mittens) from the rest of the clothes.
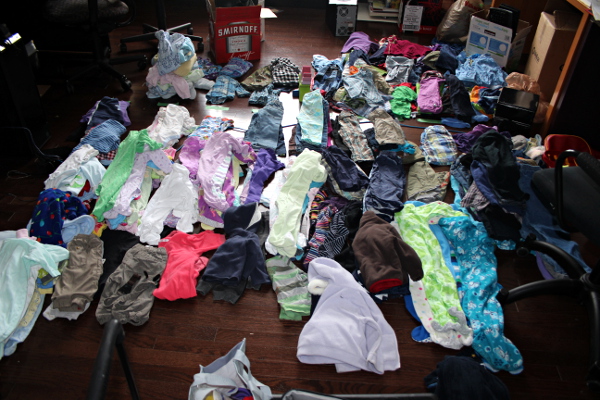
Once all the sorting is done (the longest part of the process, best done to music or a podcast, such as Katy Says):
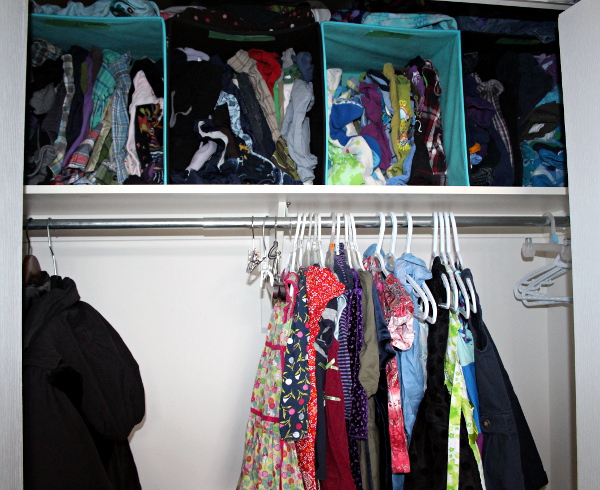
Step 3. Put the dresses, coats, and snow pants on hangers, arrange them from smallest to largest. I kept dresses separately from winter clothes, as they are needed during different seasons.
Step 4. Line up the bins at the top shelf of the closet if you have it, or wherever else you have convenient space for them.
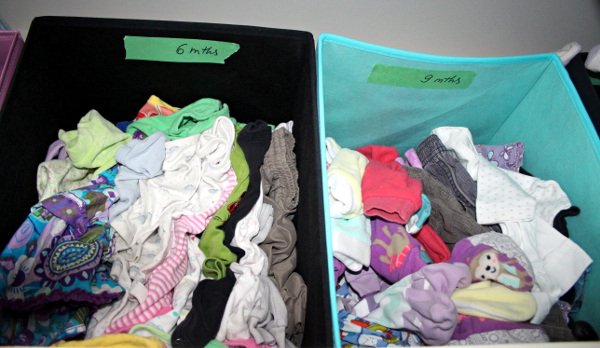
Step 5. Collect the piles of clothing for the same size, put them into a single bin. If there are more than one bin can fit, split them logically: I had to split off warm sleepers for 3-month size into a separate bin, since I use quite a few of them. You can also use the space on top of the bin for the rarely-used items of that size (I’ve used it for warm sleepers of larger sizes). If there are not enough to fill a bin, you can combine two sizes together. I had to do that for the 18- and 24-month sizes.
Step 6. Take the painter tape with size you’ve used to mark the floor areas and attach it to the inside of the bin, so you can see at a glance what size the clothes in that bin are.
To sort the kids’ footwear, I’ve done pretty much the same thing, lining them up by size. This makes it easier to see which sizes are lacking and which shoes you can donate. Once they were sorted, I put them into the shoe containers, going from smaller to larger, two pairs per each compartment, so that the two different shoes (one from each pair) are visible from the front. This way I don’t have to worry about what size they are (I never remember what size my kids are wearing, since as soon as I start remembering, they grow out of it) — I can just try the next size up. The bottom compartments are larger, so I put the rain boots and snow boots there — there are not many of them, so keeping them by size is not as critical.
This way of storage for the footwear is extremely efficient: I haven’t even used up 2 out of my 3 shoe organizers. The hats and winter accessories went into the second shoe organizer — the small size of the compartment is perfect to keep them in one place.
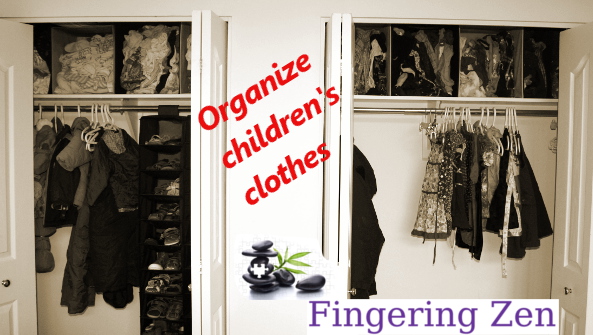
I still have lots of space in the closet which I’ll likely use for grown-up winter coats and footwear. The whole process took maybe 3 hours (and I’ve been interrupted a number of times), and now I have all the kids’ clothes readily accessible. Moreover, I can see at a glance what we have and can add more clothes into an appropriate size without a need to sort through lots of existing items.


Pingback: Unpacking Tips - Fingering Zen