


In this post, I will share some strategies I use when puzzling to make the experience more pleasurable. To be clear, I do not puzzle for speed, I puzzle for zen: to relax, breathe, and get lost in the sensory experience, combined with a good story via an audiobook. Thus these tips are not necessarily going to speed up puzzle assembly, but will keep things organized for smooth progress through the puzzle.
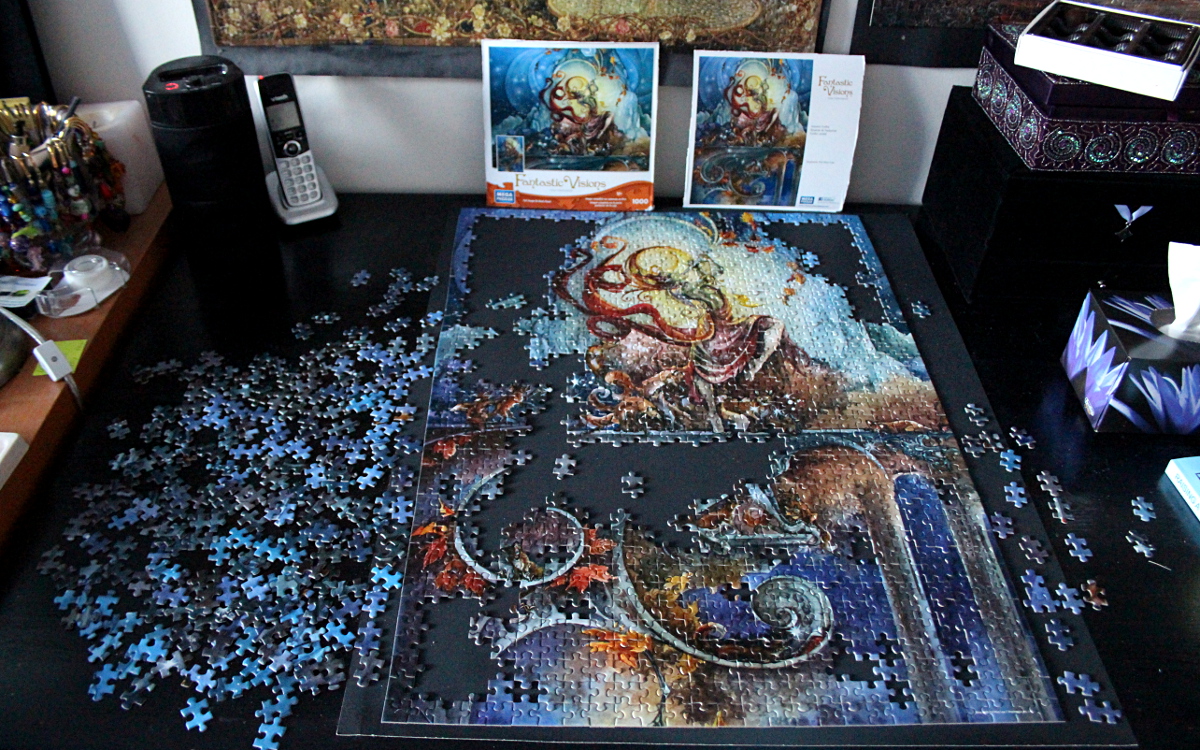
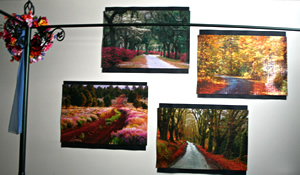
As an example, I will use the photos of the Autumn Foxfire 1000-piece puzzle.
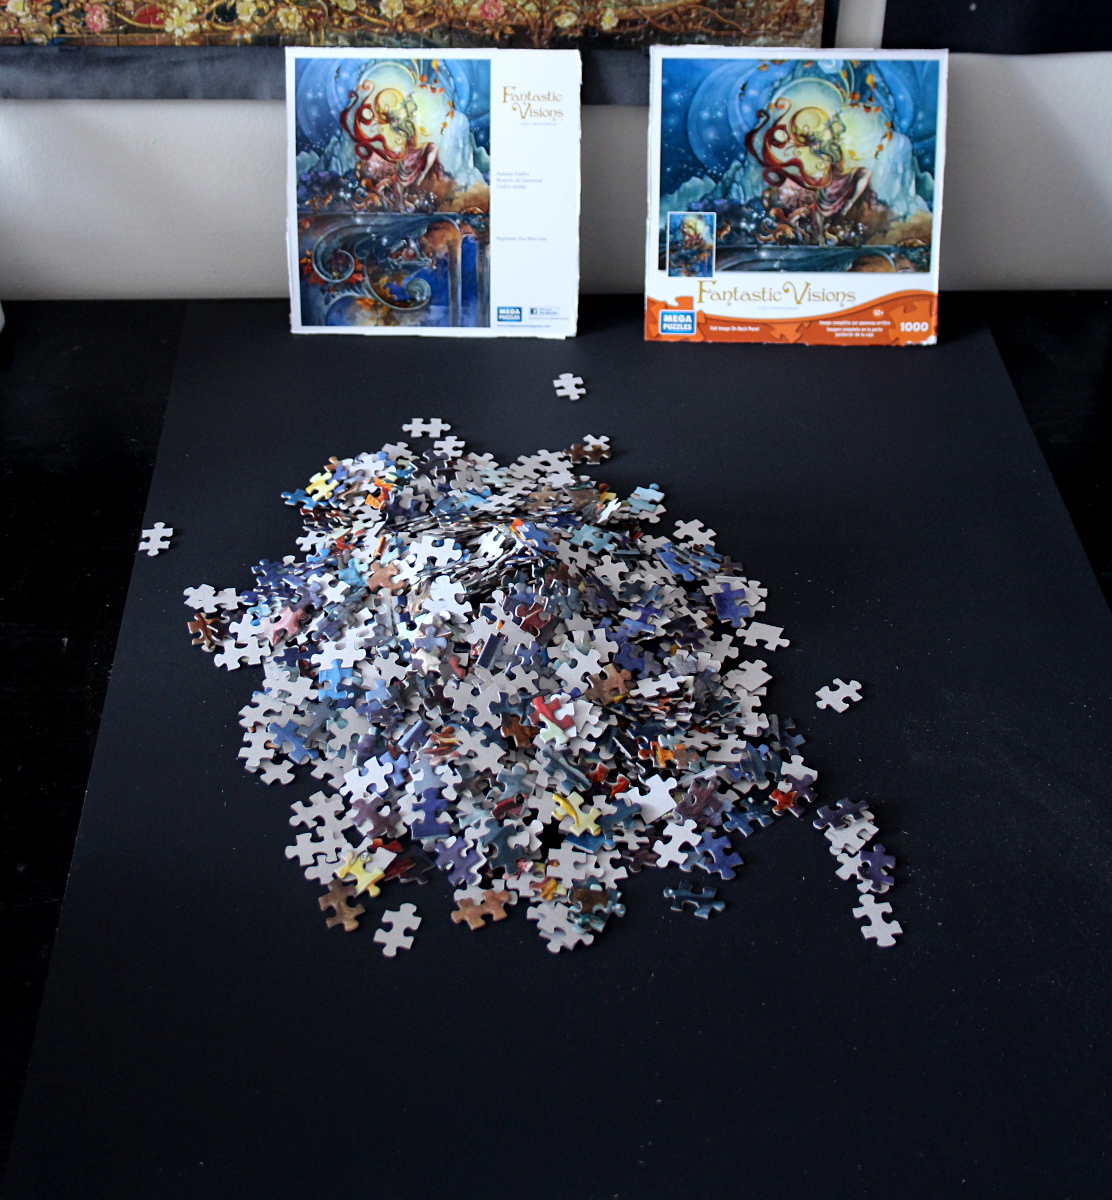
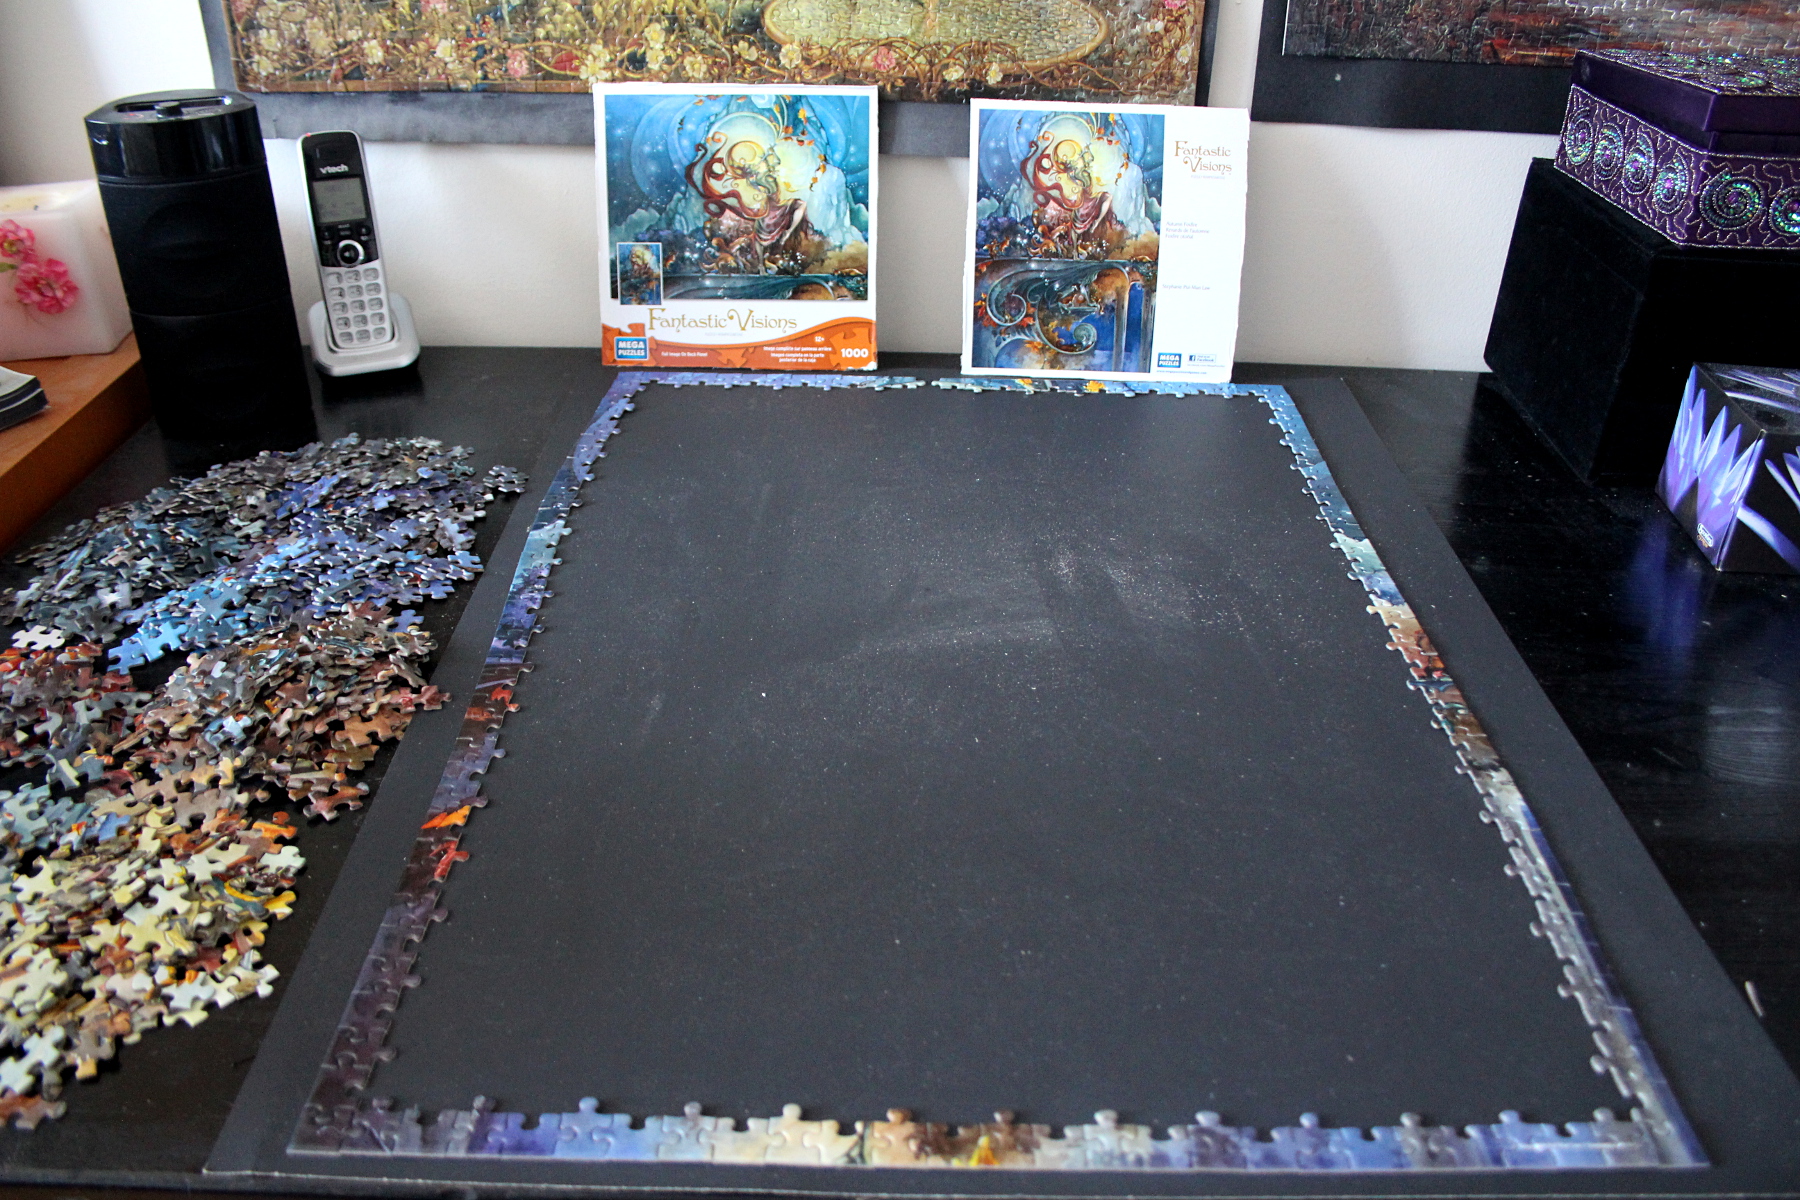
Step 1. If you want to relocate the puzzle at some point (say, if you do not have a dedicated puzzle table, and would need to have it cleared between puzzling sessions) or to glue it after completion, set up your space with a large sheet of cardboard. It can serve as your assembly surface that can be moved elsewhere between sessions: under the bed is a good place that rarely gets disturbed. It can also provide a background for the complete puzzle if it is to be glued. I usually use black sheets from a dollar store. One of those can fit a standard-sized 1000-piece puzzle. Be sure to check the puzzle picture and position the sheet appropriately for a horizontally- or a vertically-oriented puzzle.
Step 2. Set up your reference picture (either the puzzle box or the insert/poster) in a place that is easily accessible and spread out the pieces on the piece of cardboard.
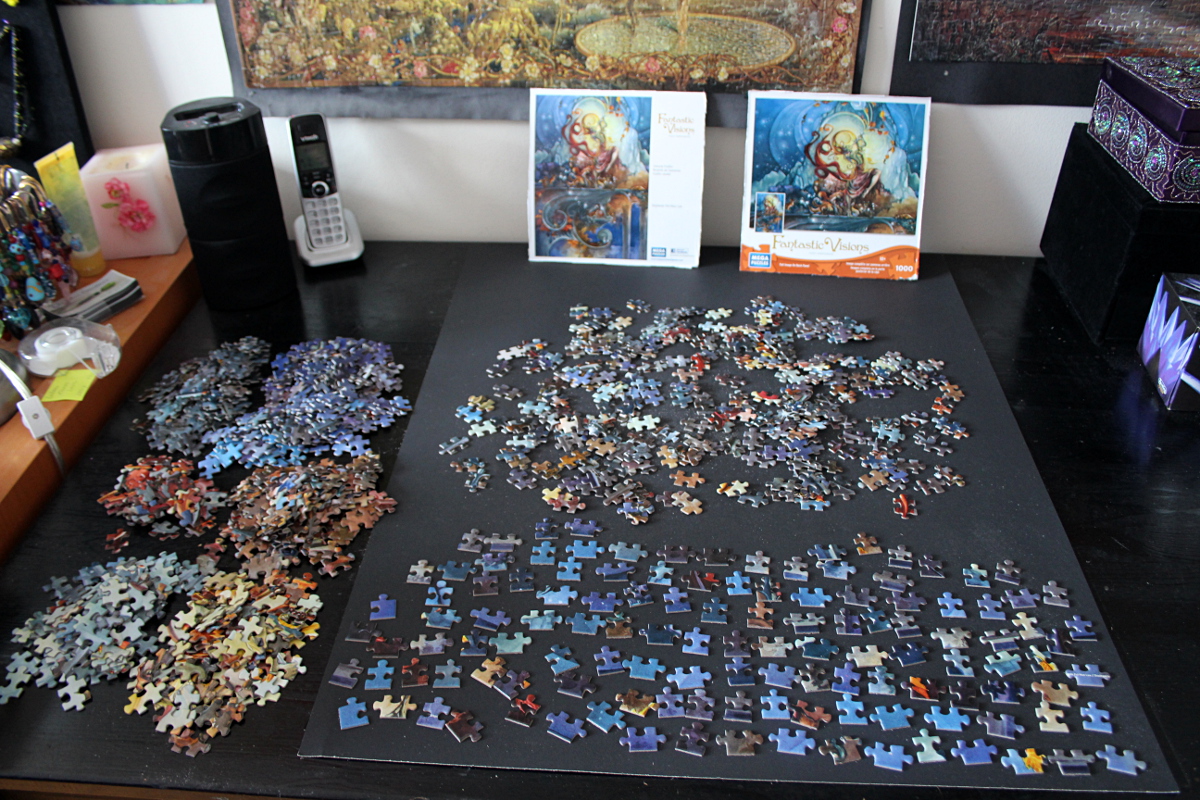
Step 3. Flip the pieces face up and separate them into groups based on colour, texture, or particular structures depicted on the picture. Those can go into heaps, as table space is usually limited. Keep the border pieces separate, preferably laid out so that the flat sides of all of them are facing the same direction. It will make for easier border assembly. The border pieces can be laid out on the cardboard sheet since they usually would be assembled first. Place the 4 corner pieces aside as they will likely be the most obvious to place.
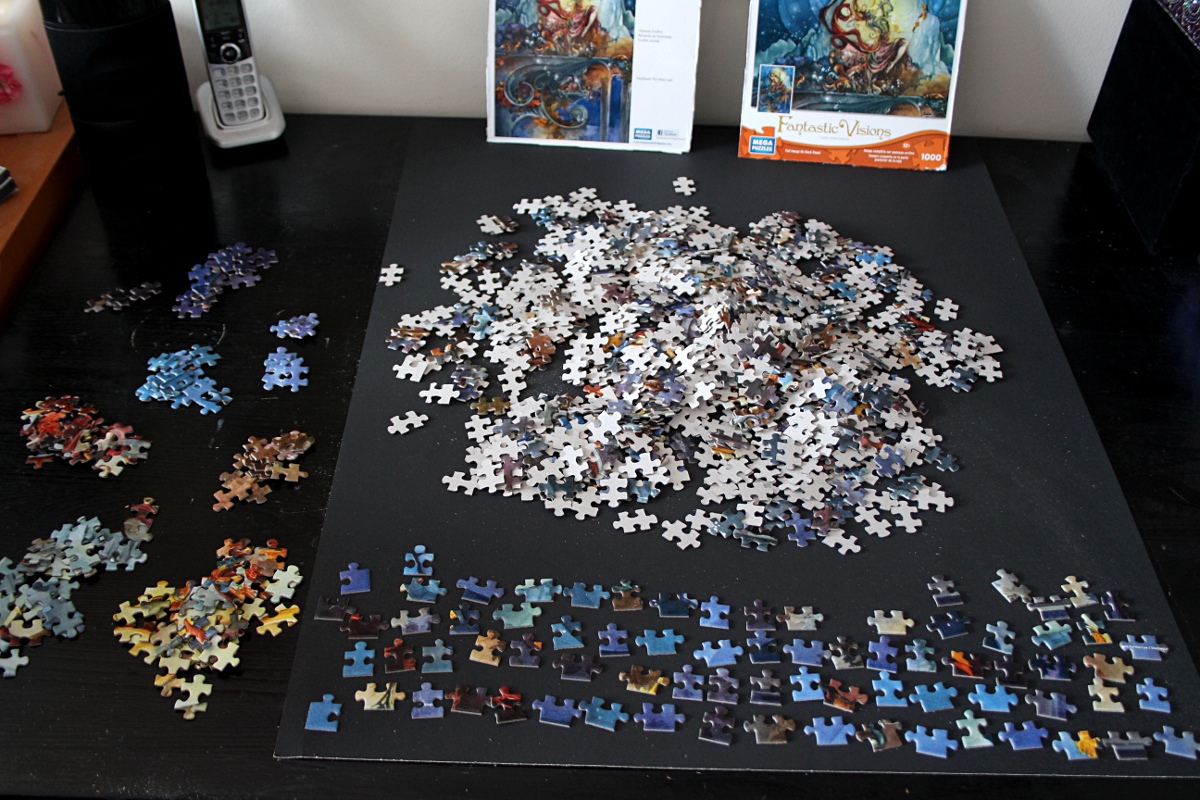
Note that some puzzles have a thick border or a uniform colour along the edges, making it harder to assemble the border. In that case, I would suggest placing the border pieces off to the side of the sheet, so that the inner parts of the puzzle can be assembled on the sheet without the border pieces getting in the way. They can then be brought in at a later stage, once the inner puzzle defines their placement.
You might want to skip this step – I rarely do. It makes for a much more enjoyable puzzling session as you can work on similar pieces together and spend less time searching in vain for that one last missing piece of a given colour or structure.

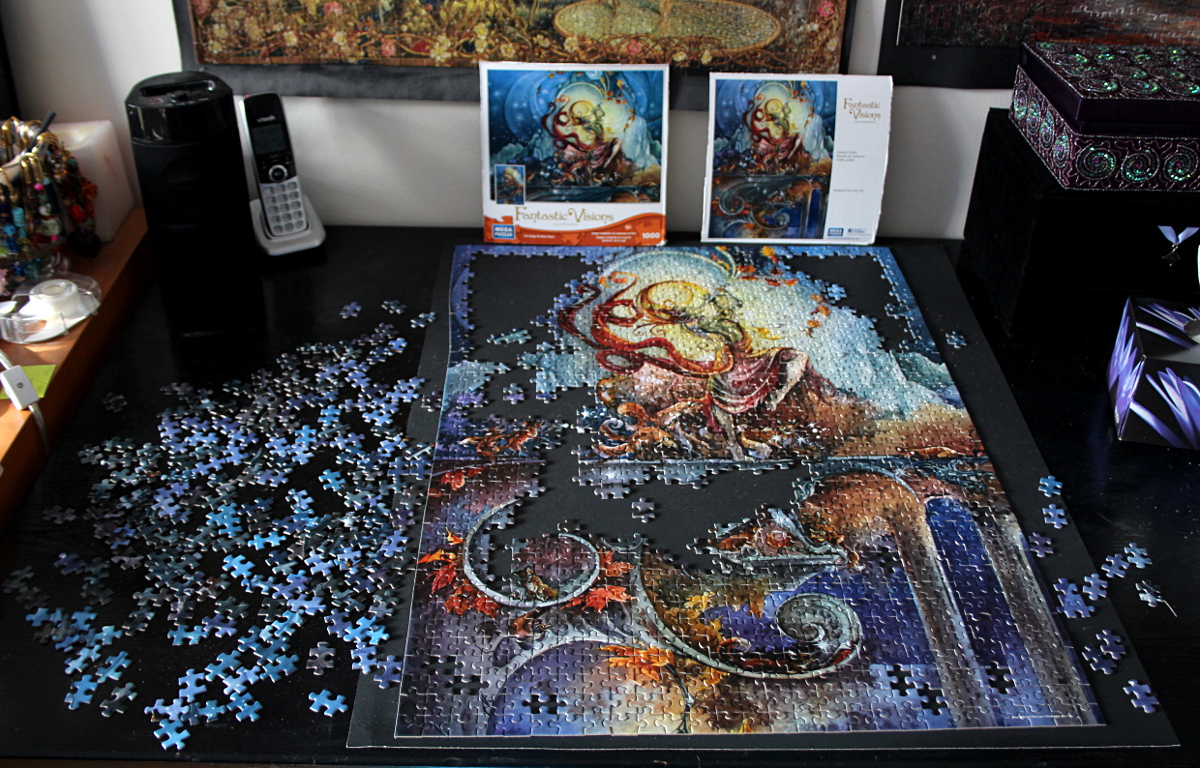
Step 4. Assemble the border. Combine together the pieces that clearly fit. You will end up with several clusters of the border which then can be put together based on the puzzle picture.
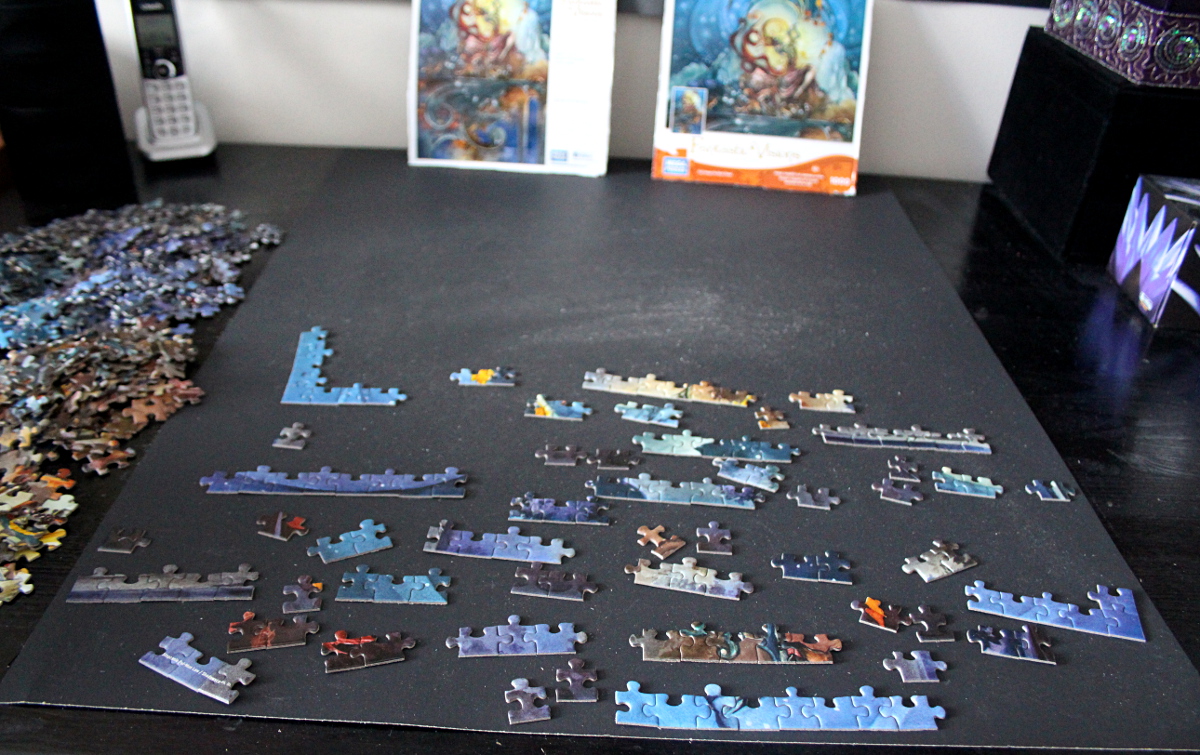
Step 5. Take the brightest batch of pieces, or the smallest similar batch, or the one that clearly connects to the border. Pieces composing large letters, bright flowers, clocks, building details, windows, etc. are good candidates. Assemble the batch and place it approximately within the border frame, or connect it to the frame if possible. A few pieces will likely be left over if similar colour exists elsewhere in the picture. If you have space, set them out in a grid outside the cardboard sheet – that will make those pieces easier to find later.
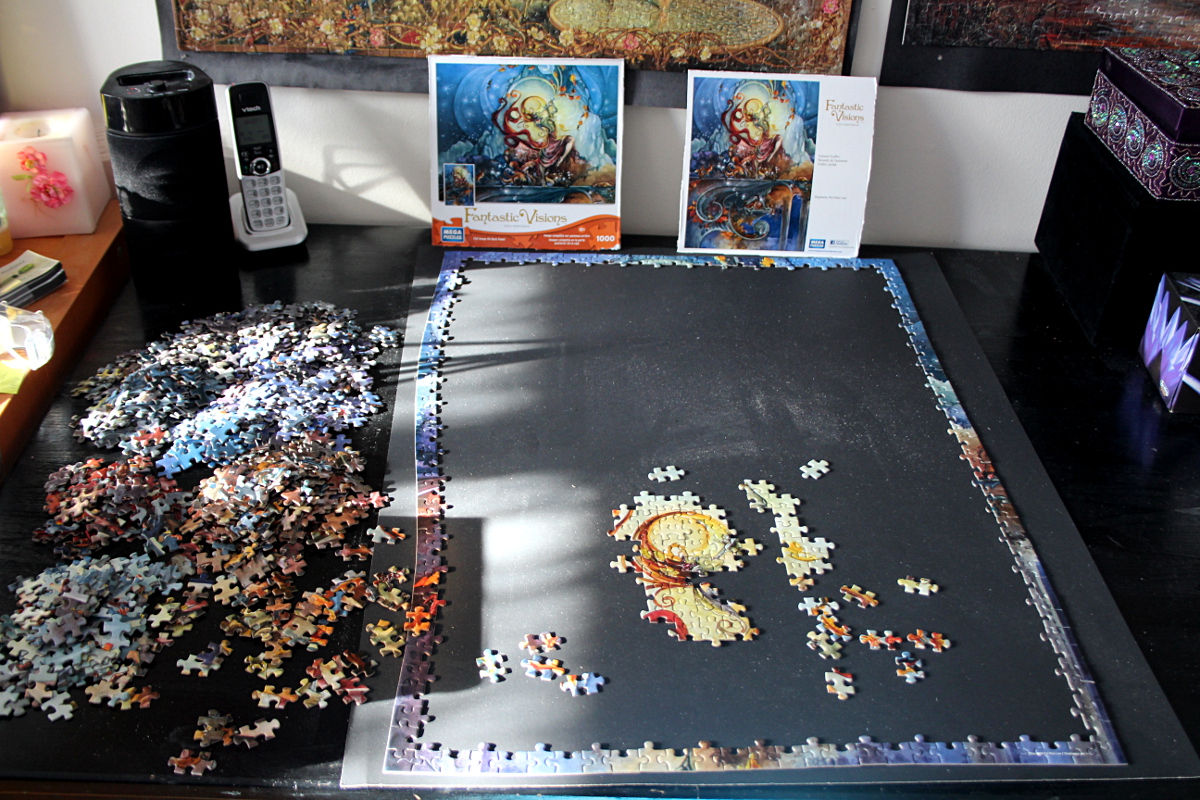

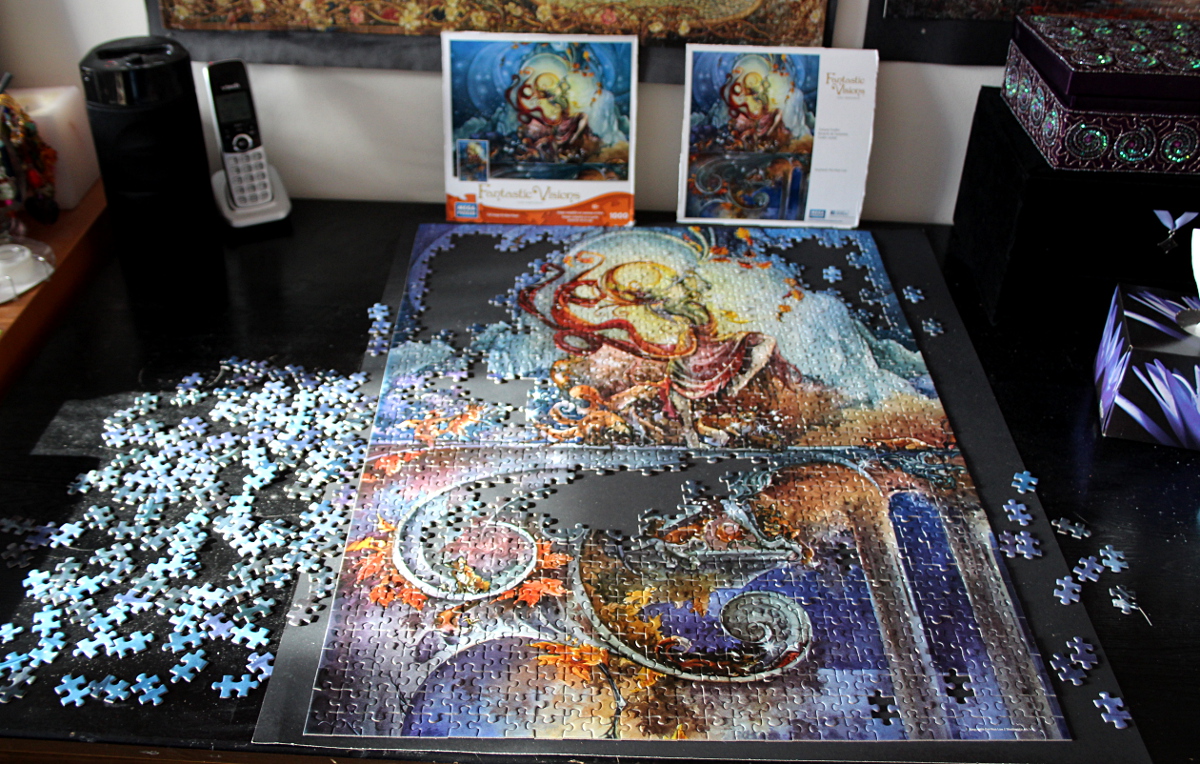
Step 6. Take the next batch of pieces and repeat. After it’s done, revisit the pieces you put aside and see if you can place any of them.
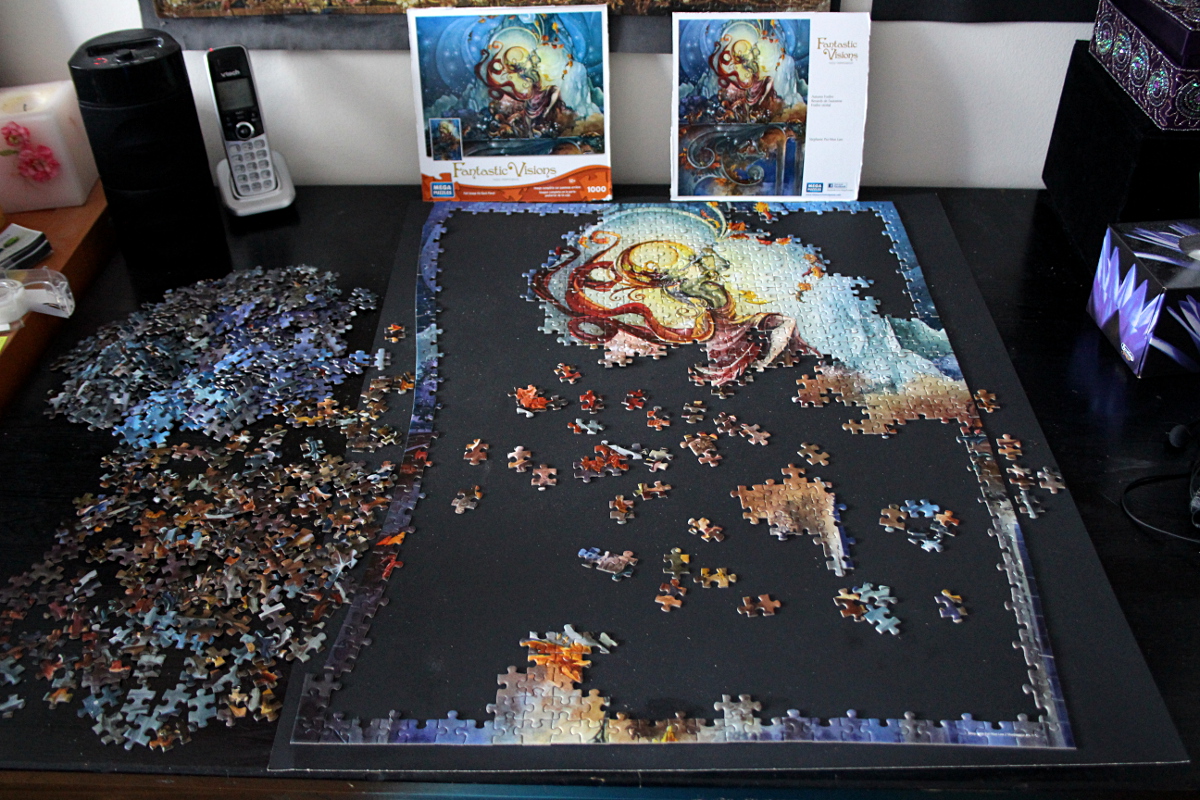
Step 7. Batch by batch, you will complete the puzzle.
Some of the easiest regions to assemble are:
- those that are small and uniquely coloured or textured;
- in puzzles with humans or animals, bright garments or colouring;
- horizontal guides such as the border between land and sky, water and land, water and sky;
- curved horizontal guides such as the border between mountains and sky, tree line and sky, tree line and mountains, buildings and mountains, roof and sky, roof of one building against a wall of another;
- vertical guides such as tall plants, building corners, pillars, masts, and so on;
- in puzzles with water, direction of the ripples on the water can tell you which way to place the piece;
- in puzzles with reflections, the part of the picture which has a reflection and its reflection will have similar colours but the reflection will have a washed out texture.
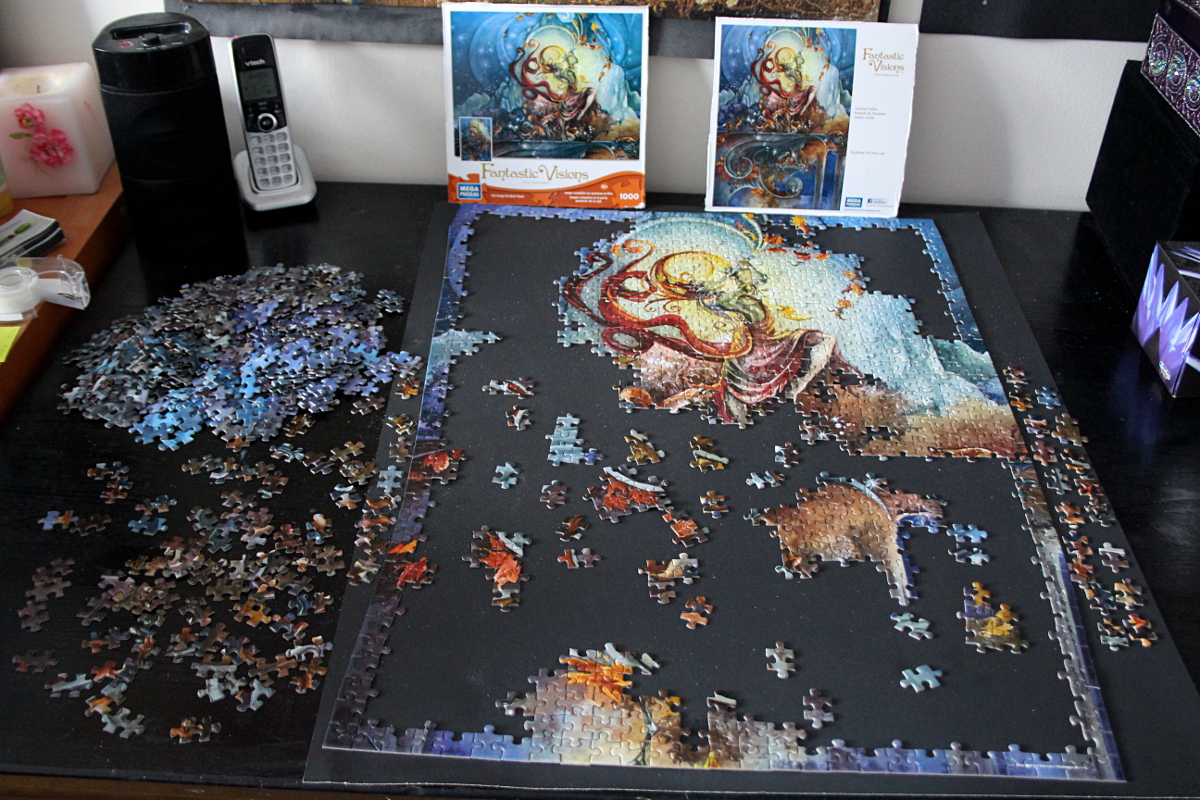
The more of the puzzle is assembled, the easier it is to place the remaining pieces, as there are fewer places into which they may fit. Thus it is easiest to start with the simplest regions.
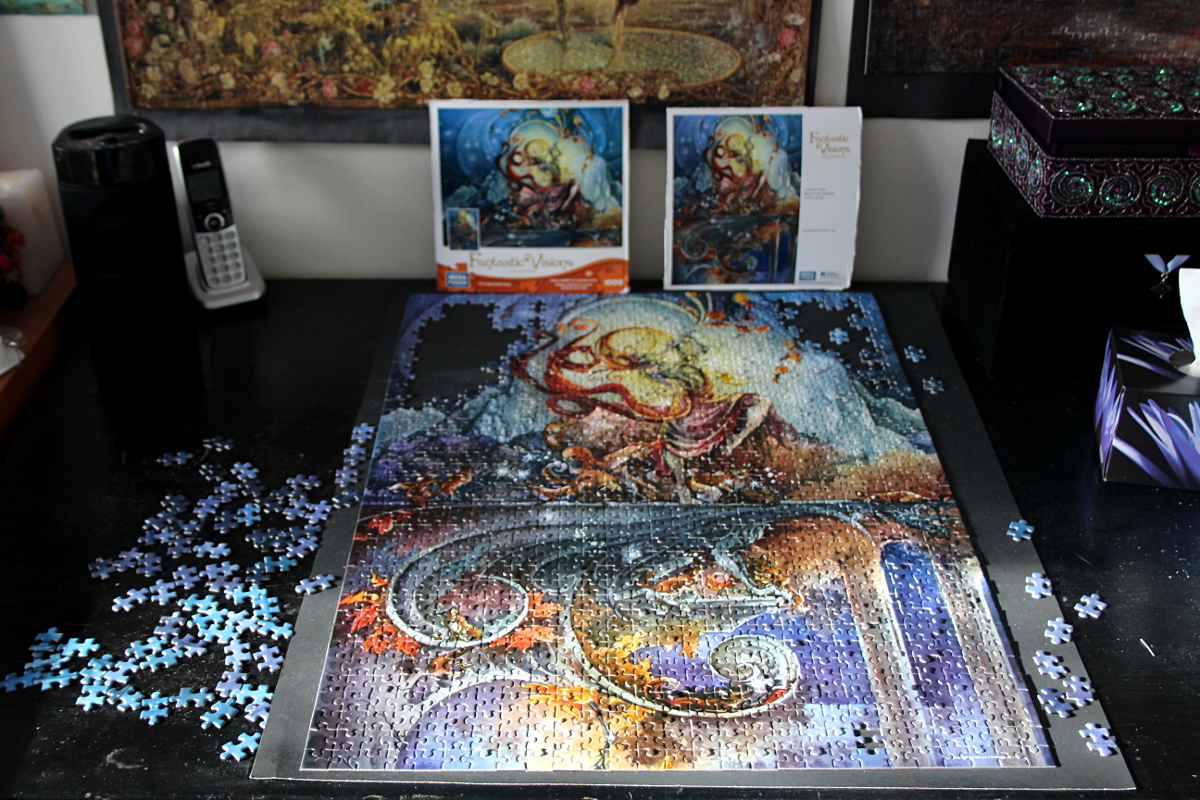
Closer to completion, when in doubt, permutation is your friend. Say you have 10 blue pieces left to be placed: try one in all the possible spaces. If it fits, continue on to the next one, else put it aside. I would not try it over a large incomplete area, or in a puzzle with poorly-fitting pieces (as in extreme cases you can’t tell whether the piece fits even after you have placed it). This strategy is often helpful with pictures containing large uniformly-coloured regions, such as sky and washed out clouds.
Step 8. Once the puzzle is complete you can glue it to the sheet if you like. I usually leave some margins if the size of the puzzle allows. Puzzle glue is usually either transparent or white that dries to transparent. It is applied over the top of the puzzle and it seeps in between the puzzle pieces anchoring them to each other and to the surface on which they reside. Depending on the quality of the glue, you might have to apply two coats (waiting for the first coat to dry fully before applying the second one).
Once the puzzle has been glued from the front, it is sometimes necessary to glue the puzzle to the sheet. This at times happens with especially well-fitting pieces, such as Sure-Lox, as the narrow gaps are not letting much glue to reach the sheet. I use white school glue to at least secure the puzzle perimeter to the sheet. I then apply weight (heavy books work well) along the perimeter and leave the puzzle for a few hours to fully set. Sometimes the puzzle glue warps the puzzle a bit, so the weights help in flattening it.

Step 9. You can frame your puzzle if you like. It is hard to find a cost-effective frame for most of the large puzzles, but if you find one or can make it yourself, that’s great. If you want to hang your puzzle on the wall without a frame, I suggest first flipping the puzzle and applying sticky tape (such as shipping tape) all around the perimeter of the back. If the puzzle is larger than 500 pieces, I also make a cross with the tape on the back of the sheet. It strengthens the places where anchoring tape will be attached and prevents the sheet from tearing when the tape is taken off.
 I then take pieces of tape, wrap them into rings with the sticky side outwards and place them all around the puzzle perimeter: the bigger the puzzle, the more of these I use. Depending on the humidity level in your dwelling, the puzzle might warp somewhat, and the more sticky rings of tape are holding it to the wall, the better. I found that when the puzzle is taken off the wall, good tape leaves little trace if any. Poster mounting double-sided sticky squares can be used as well, but they might be hard to remove if needed.
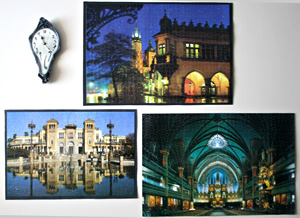
 After enjoying the assembly of your beautiful puzzle, you can use it as a decorating piece. Puzzles of fantasy or fairy tale scenes are great for children’s rooms and creative studios, architectural puzzles make for good living room and hallway decoration, calm landscapes or sensual gothic compositions work well in the bedroom, and food or wine nature morte paintings can liven up the kitchen. Some people even laminate a combination of many puzzles to make them into the kitchen floor. May your inspiration and imagination be your guide.
Pingback: Puzzle: Autumn Foxfire - Fingering Zen
Thanks for this, Jenya. Good ideas that I might have heard before but grest to have in one place. Now, to begin!